
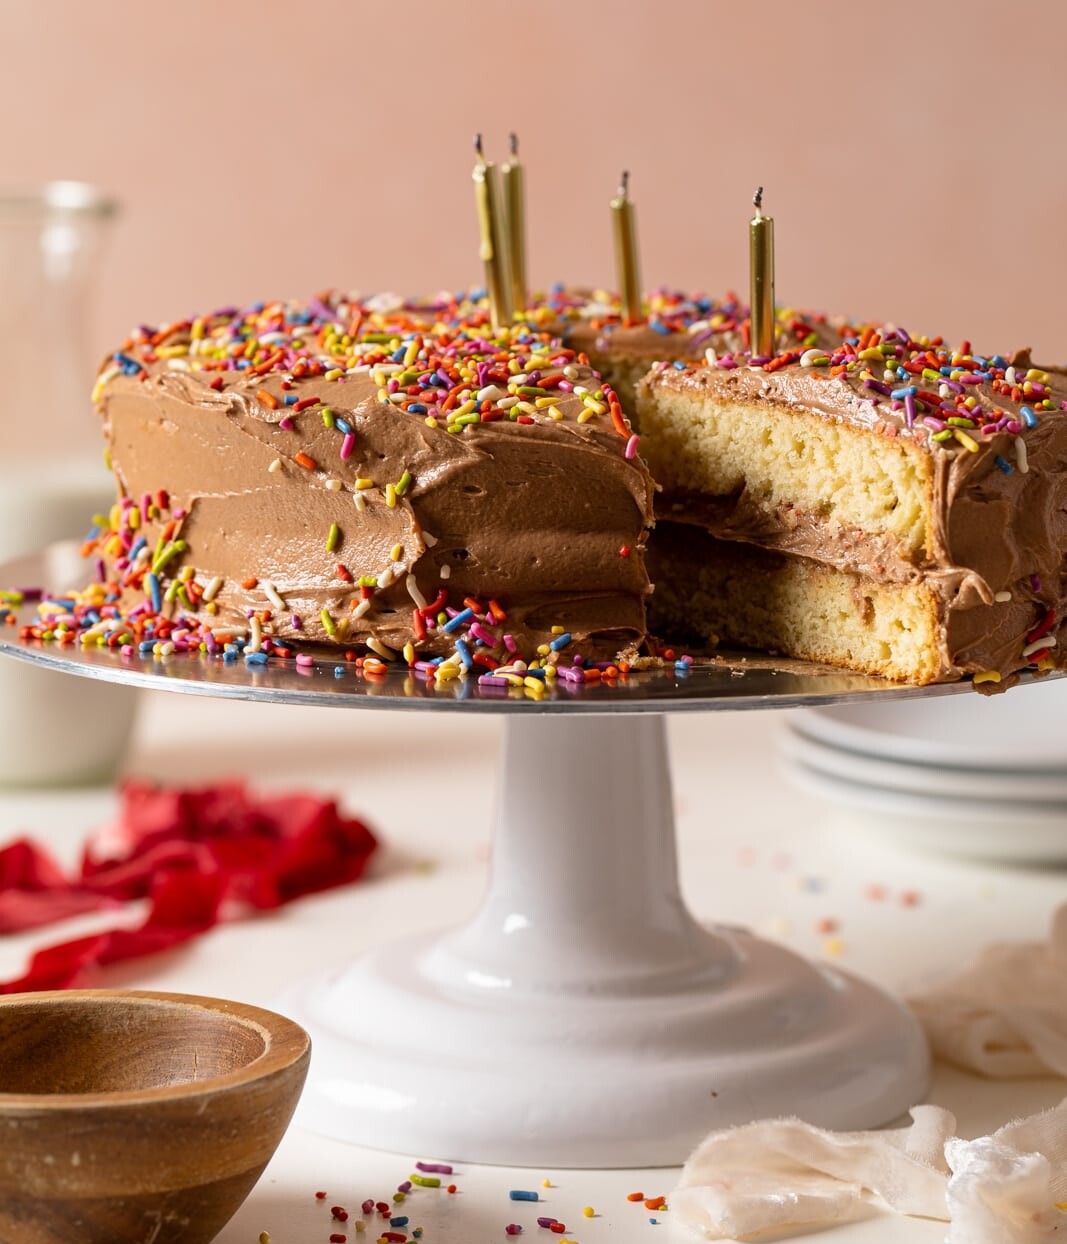
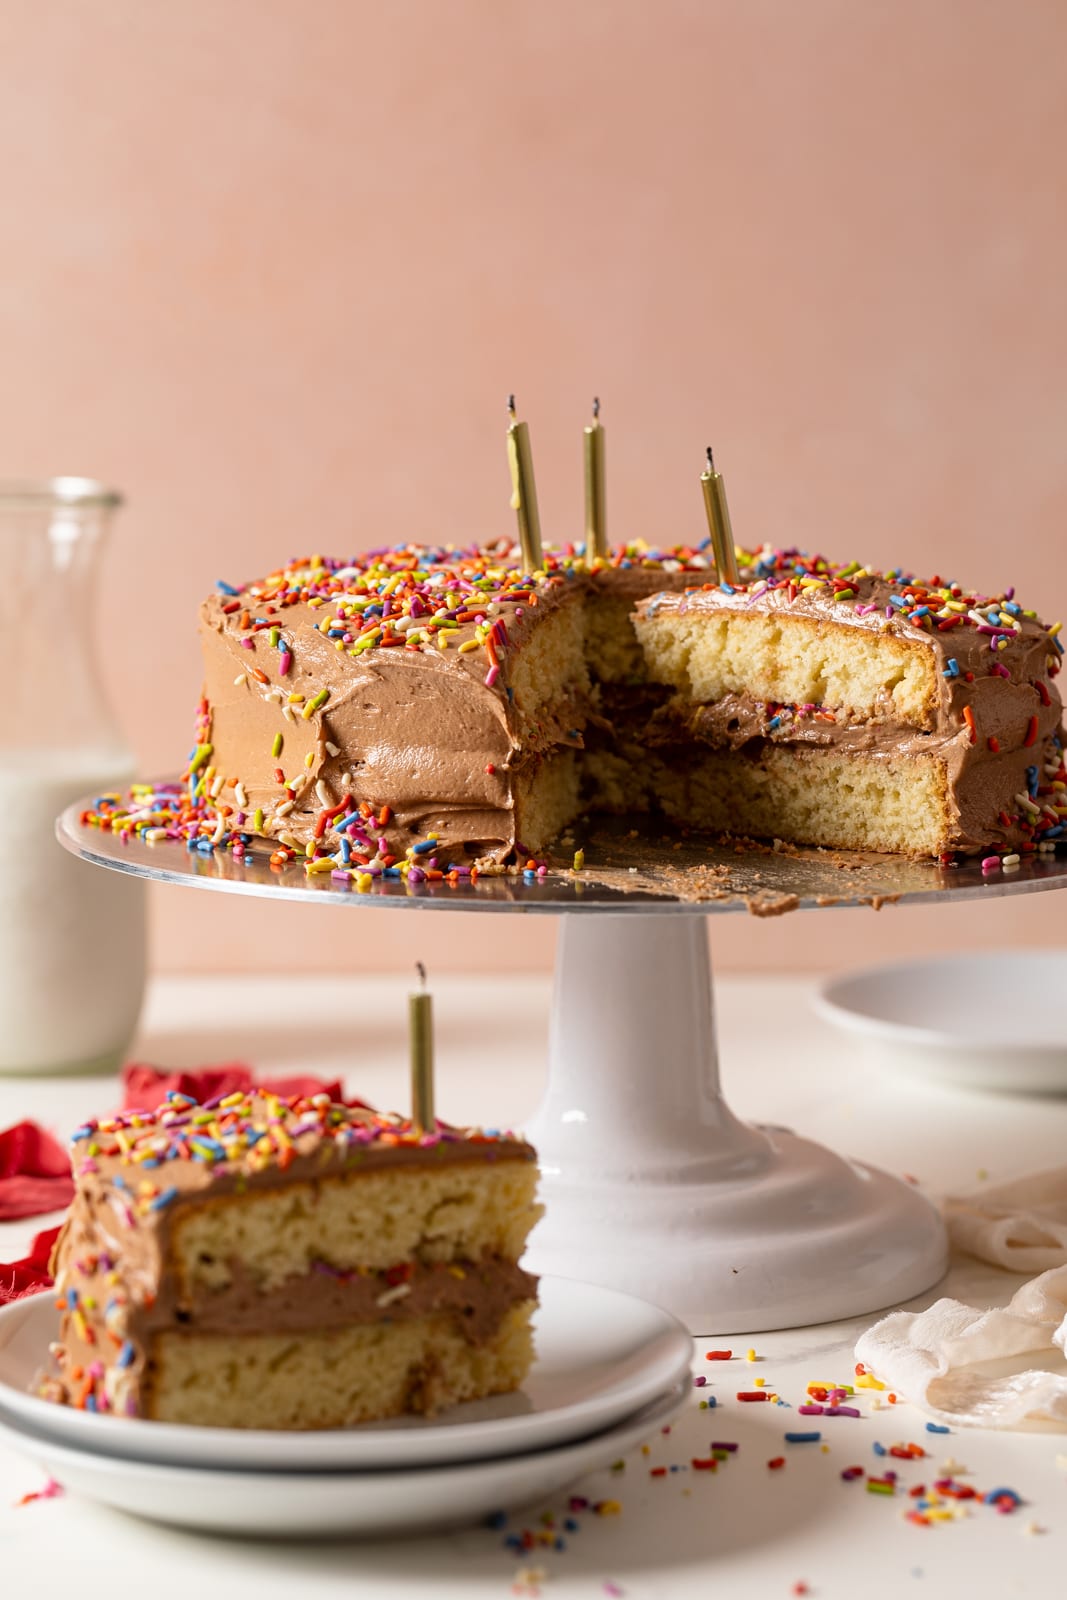
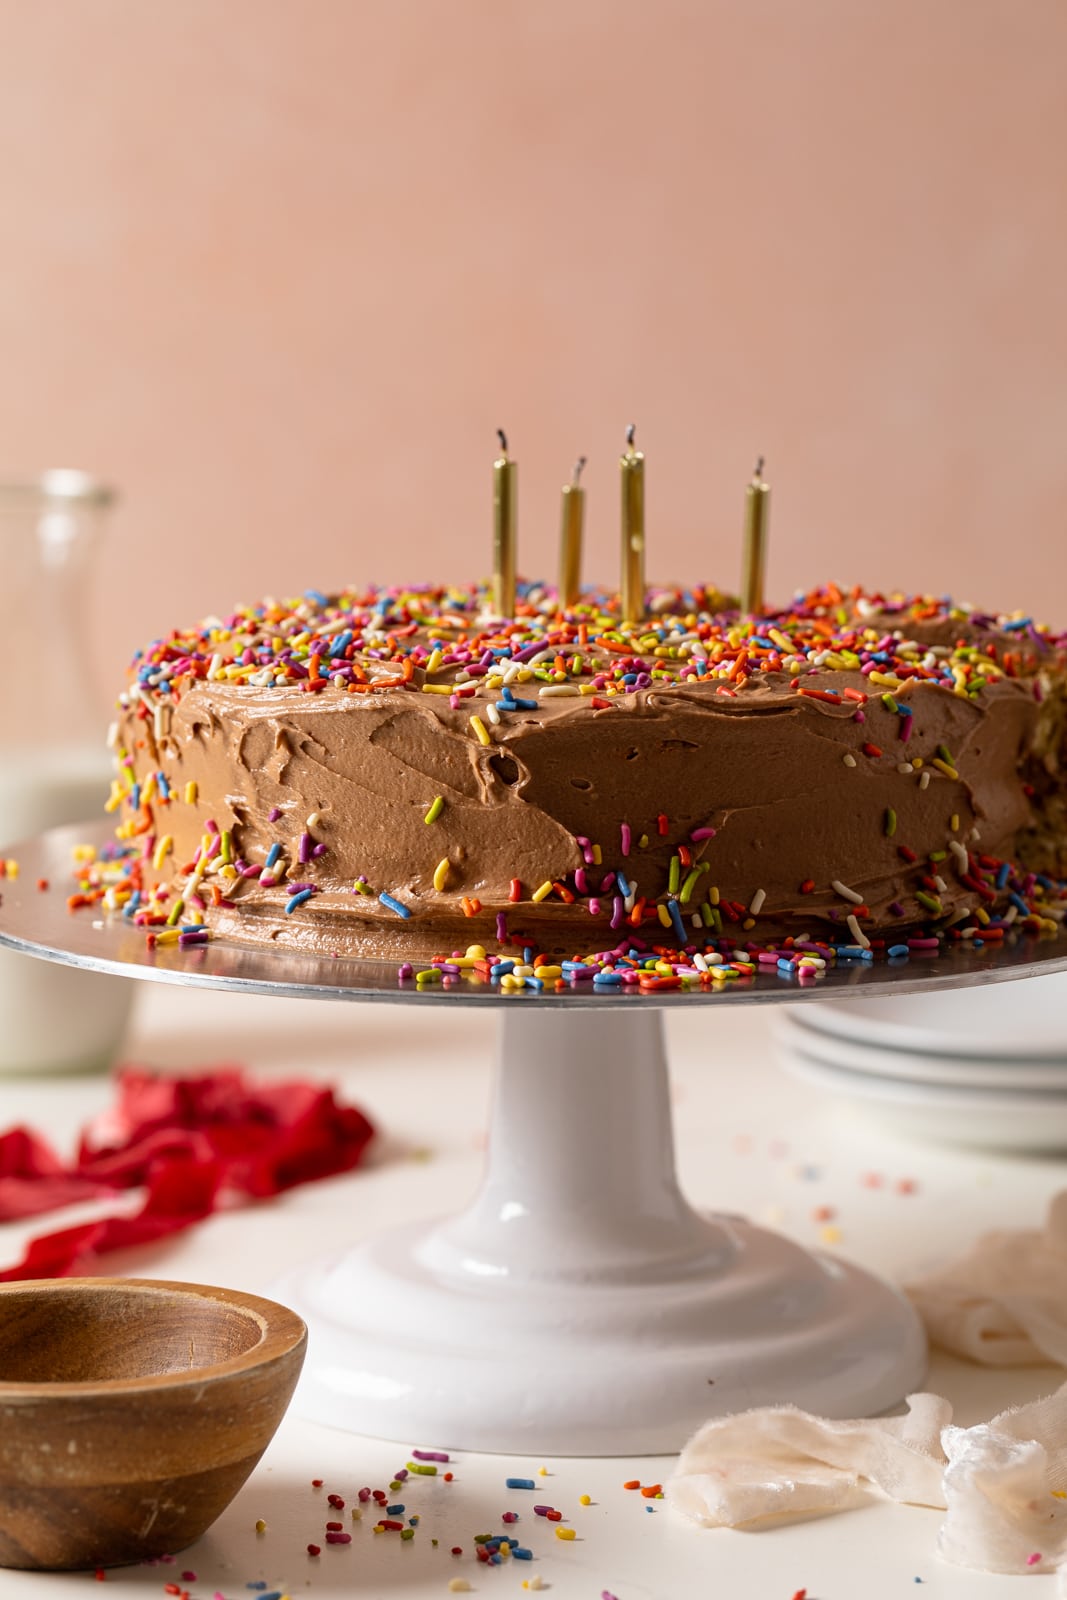
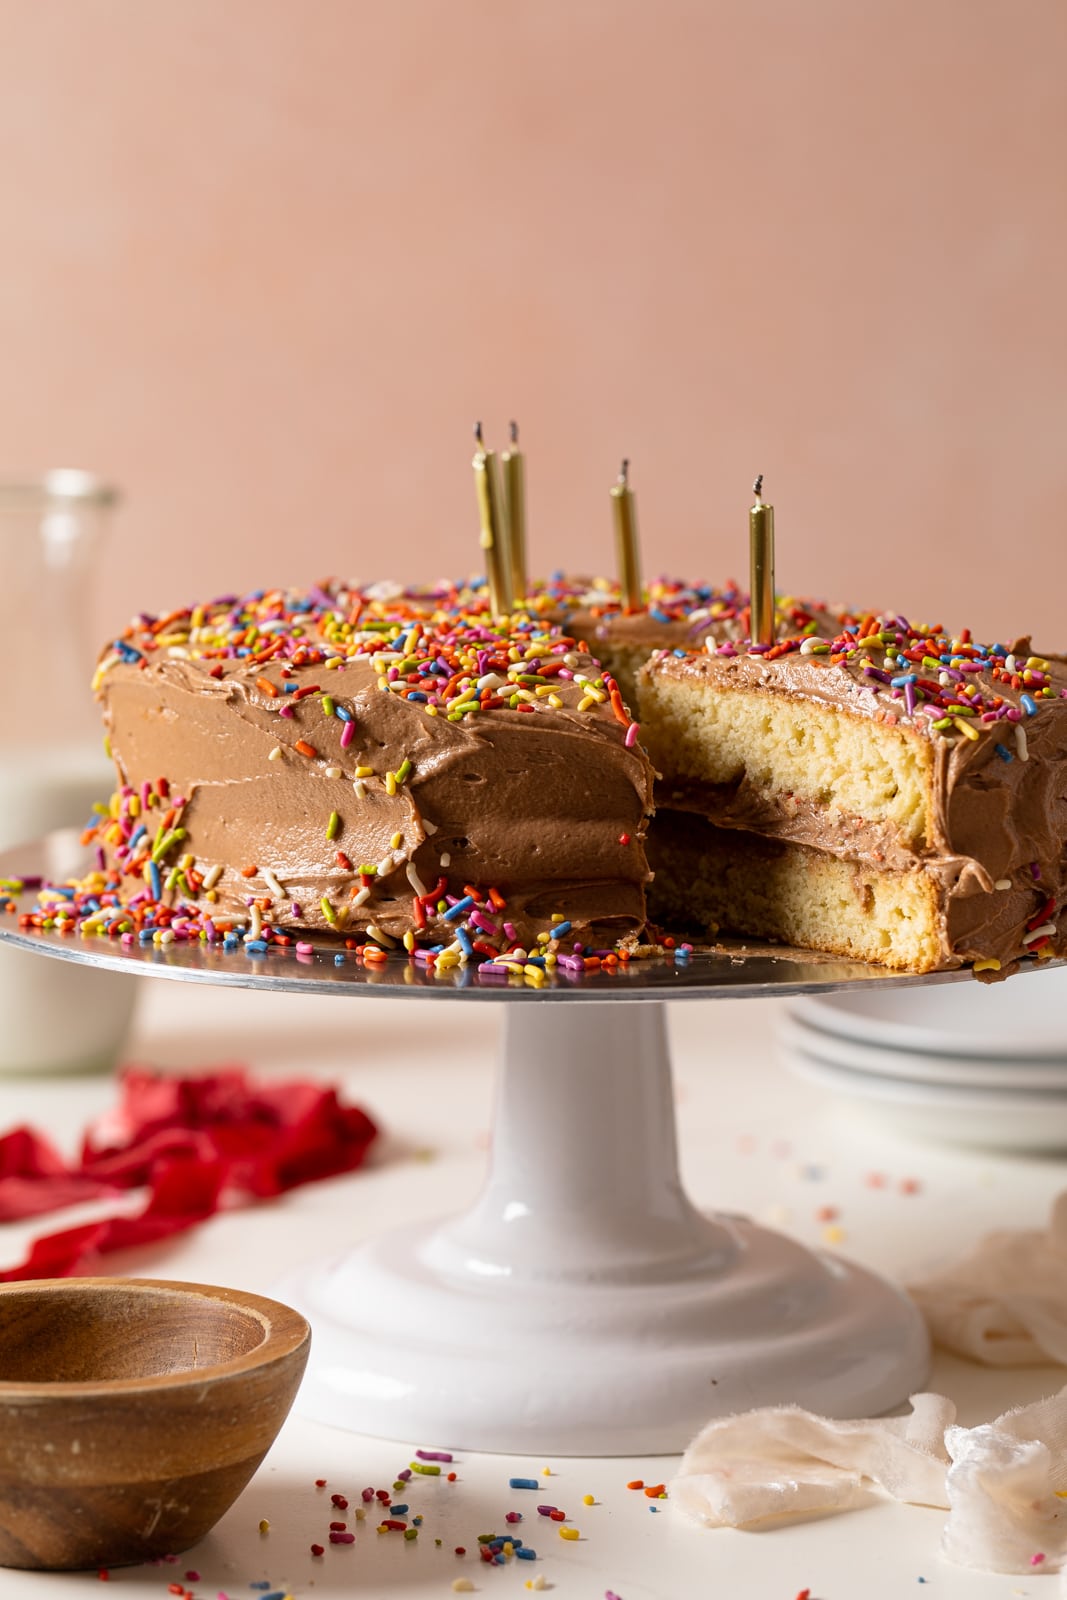
Grandma’s Vanilla Birthday Cake with Chocolate Frosting
DISCLAIMER: This post may contain affiliate links, which means that I make a small commission off items you purchase at no additional cost to you. Please read my policy page!
Grandma’s Vanilla Birthday Cake with Chocolate Frosting
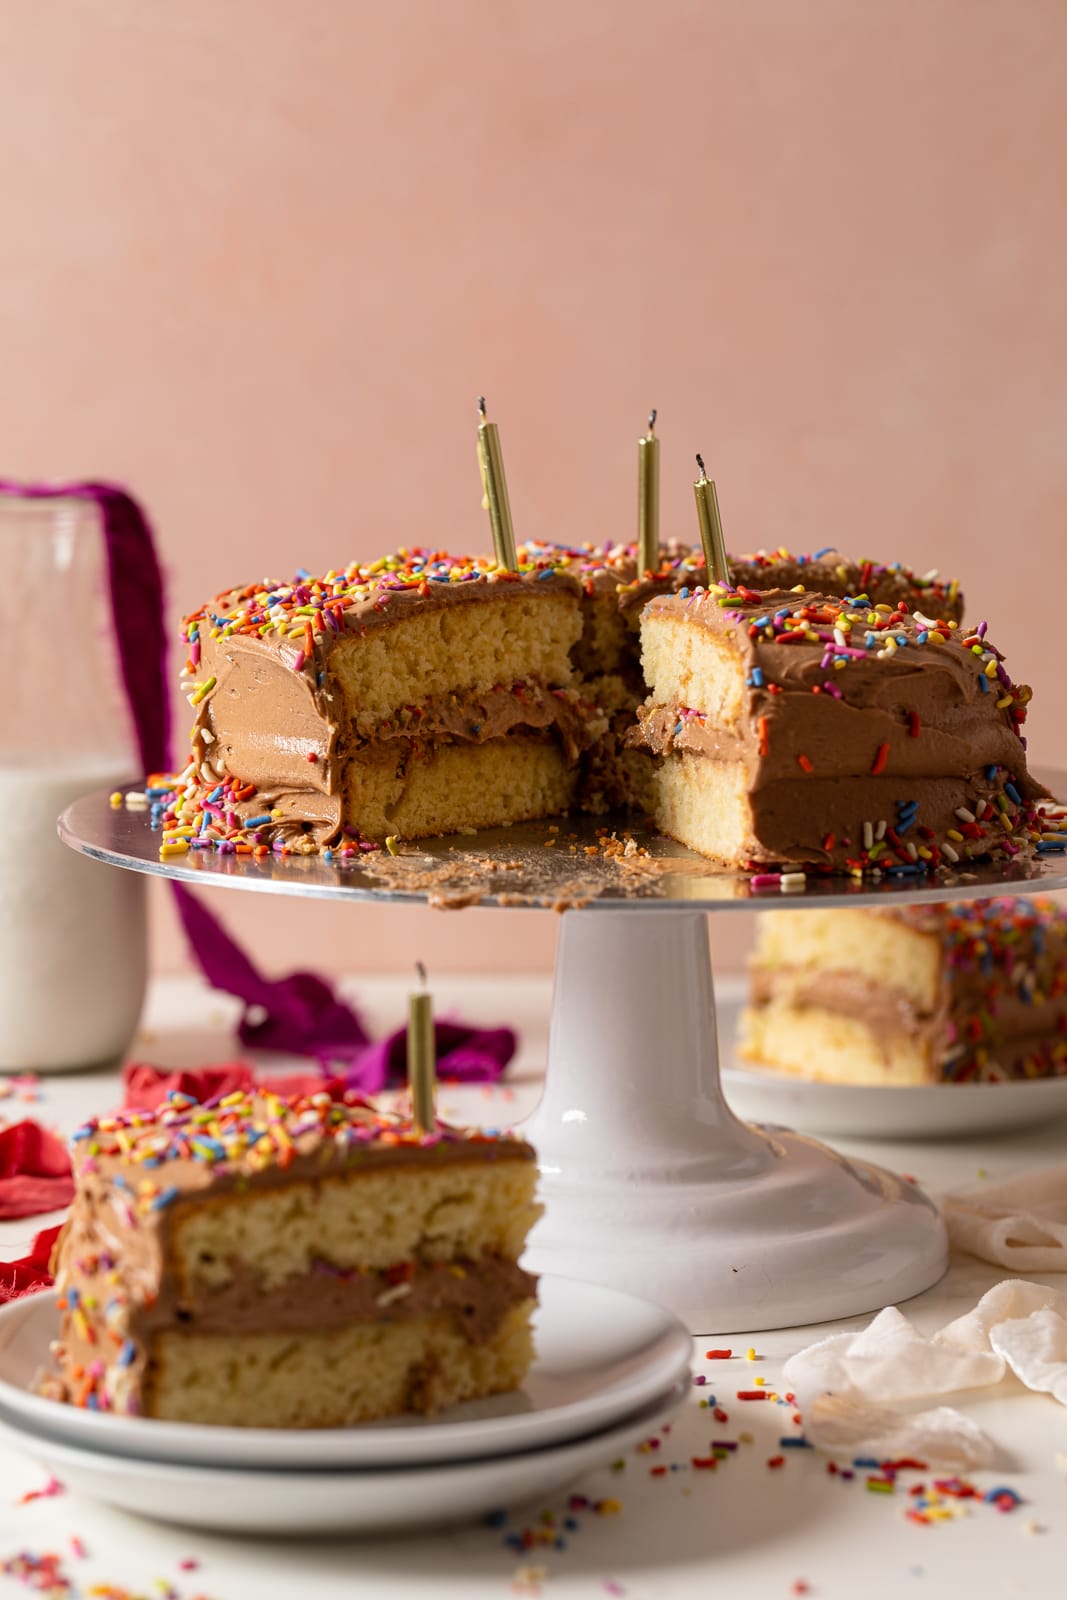
Nothing beats a slice of Grandma’s Vanilla Birthday Cake with Chocolate Frosting—a classic that never gets old. This dense, moist, and fluffy treat is sure to leave you with plenty of cherished memories. It's easy to whip up and bursting with flavor, making it a sure hit for the entire family, especially on birthdays. Vegan + Gluten-free option.
Vanilla Birthday Cake Just Like Grandma Used To Make
Who doesn't love a good slice of cake, right? Whelp, I totally get it. I'm always ready for a nice fluffy slice of a good cake that's unique in flavor yet comforting and nostalgic. The name of this cake is because my Grandmother would always get me the best store-bought birthday cake, and I always felt like she knew me so well because classic vanilla with perfectly whipped buttercream was my ultimate favorite that she got every time. Okay, Vanilla Oreo Cake and Vegan Funfetti Cake came in as a VERY close second choice Haha.
She wasn't the most well-versed baker or cook, but whenever she did whip something together----it was amazing to me! So, this Vanilla Birthday Cake with Chocolate Frosting is paying homage to my Grandma's yearly cake haul for my birthday and it reminds me greatly of something she would make.
This cake hits all the right notes. It's just the perfect balance of sweetness, fluffiness, and softness, with a generous dose of pure vanilla flavor. Plus, it's super easy to make, using simple ingredients. It's a win-win situation! Indulging in this cake takes you to that comforting, nostalgic place. Trust me, you'll thank me later. And if you're a cake lover like me, be sure to check out our Best Cake Flavors for Any Occasion list next!
Jump to:
- Vanilla Birthday Cake Just Like Grandma Used To Make
- Why You Will LOVE Grandma’s Vanilla Birthday Cake
- How to Make Grandma’s Vanilla Birthday Cake with Chocolate Frosting
- Ingredients
- Can I Use This Chocolate Frosting for Other Desserts?
- Tips For Making The Perfect Vanilla Cake Cake
- Perfect Occasions For A Slice Of Grandma’s Vanilla Birthday Cake
- Why The Ingredients NEED To Be At Room Temp
- Can I Make this Vanilla Birthday Cake Vegan?
- Tips for Making Vegan Cake
- Can I Use Other Types of Milk?
- Vanilla Birthday Cake with Chocolate Frosting Q + A's
- More Grandma-Inspired Recipes to Try
- MADE OUR RECIPE(S)?
- Grandma’s Vanilla Birthday Cake with Chocolate Frosting
Why You Will LOVE Grandma’s Vanilla Birthday Cake
- Moist + perfectly fluffy!
- Simple and easy even for beginner bakers!
- Rich + creamy chocolate frosting.
- Classic combo of vanilla + chocolate.
- Perfect for birthdays and special occasions.
- Layers of happiness in every forkful.
- Totally decadent, and did I mention delicious?
How to Make Grandma’s Vanilla Birthday Cake with Chocolate Frosting
This cake as I’ve mentioned before is super easy to whip together and doesn’t require anything special when it comes to ingredients.
Ingredients
All you need to whip up this simple Vanilla Birthday Cake batter is:
Vanilla Birthday Cake
- All-purpose flour. I use organic flour from Bob’s Red Mill.
- Baking powder for leavening.
- Cane sugar. I use organic sugar.
- Butter. I recommend using salted butter in this recipe or a nice touch of rich flavor, but unsalted butter works perfect too!
- Eggs + egg yolk. These should be at room temperature so they mix evenly into the batter.
- Vanilla extract. This adds great vanilla flavor to this cake.
- Buttermilk. You can use dairy-free or regular with 1 tablespoon of lemon juice to create the buttermilk.
CHOCOLATE FROSTING/BUTTERCREAM:
The frosting on this cake is an airy, light and fluffy chocolate and nutty buttercream. It’s incredibly rich and airy. You’ll want to keep this frosting on hand for all of your chocolate infused baking projects. My secret to an even richer flavor is in the use of a small amount of peanut butter. Feel free to omit this if you have an allergy or don't like peanut butter. Here’s what you need:
- Organic powdered sugar. Granulated sugar will make a grainy texture in your frosting, so opt for confectioner’s sugar.
- Salted butter. Softened at room temp.
- Organic cocoa powder. This gives it the best chocolate flavor.
- Organic peanut butter. Adds a deliciously, nutty taste with the chocolate. Greatly rich when used!
- Vanilla extract. I always use the brand Nielsen-Massey it's such good quality!
- Almond milk. (You can use your fave plant-based milk or whole milk, if desired) Try my homemade almond milk!
SHOP MY FAVORITE BAKEWARE ITEMS AND ACCESSORIES!
Here, I’ve curated a list of bakeware essentials that I use to achieve my favorite baking treats, especially with this Vanilla Birthday Cake. Everything from my fave baking sheets, parchment paper, mixing bowls, and more. SEE THEM HERE!
Can I Use This Chocolate Frosting for Other Desserts?
This Chocolate Buttercream (with a hint of peanut butter) on top of my grandma's Vanilla Cake is one of my favorite recipes on earth and it’s crazy how simple, yet effectively delicious it is.
The buttercream goes perfectly with this simple cake, but it also goes well with any dessert you pair it with. After combining only a handful of ingredients, you get the best frosting ever!
Feel free to pair your frosting with any of these desserts:
- Cinnamon rolls
- Cupcakes
- Whoopie pies
- Macaron
- Sandwich cookies
- Brownies/blondies
- Other cakes
Keep this recipe in your arsenal and pair it with your favorite sweets!
Tips For Making The Perfect Vanilla Cake Cake
TIP #1:
One thing that I’ve learned about baking a delicious sheet cake recipe is having the right tools. As a basic—-you should have a cake stand (preferably one that has a turnstile table), spatulas (big + small), piping bags + tips, correct baking pans and parchment paper.
TIP #2:
One of the essential ingredient combos for a light, silky cake texture is baking soda/baking powder and acid ingredient (usually apple cider vinegar + plant-based milk for vegan cakes). When acid and baking soda/baking powder reacts, it creates bubbles and helps to create a nice rise for your baked goods, leaving an airy texture.
TIP #3:
One of my latest tricks to a perfect honey cake has been to ensure that ALL of my dry ingredients are sifted. Trust me, ya’ll—-this works! Making all the dry ingredients fully sifted makes things airy, as you’ve guessed it and allows everything to combine faster.
TIP #4:
Never Over-mix! When creating a perfect cake, it’s so important to add the dry ingredients and wet ingredients alternately and as soon as everything is combined very well, THAT’S IT! Over-mixing creates a more dense cake.
Perfect Occasions For A Slice Of Grandma’s Vanilla Birthday Cake
These events are a great excuse to eat cake!
- Birthdays (It's in the title Haha!)
- Anniversaries
- Barbecues
- Potlucks
- Kids Sleepovers
- Holiday Gatherings
- Graduations
- Baby Showers
- Dinner Parties
- Actually, any time is a good time for cake, right? Bake away for a little weekday pep-up!
Why The Ingredients NEED To Be At Room Temp
It’s always best to have cold ingredients at room temperature to ensure that the mixing process is more seamless and even. Please note that microwaving your butter last minute if you forget to leave it out at room temperature isn’t recommended. Microwaving often changes the consistency of the butter which doesn’t create a nice ‘creaminess’ when mixed.
QUICK BUTTER HACK:
Instead, to quickly soften your butter, run a plate and a bowl under hot water. Place the unwrapped butter on the hot plate and cover with the bowl. Let it sit for about 10 minutes. Then your butter should be nice and soft. You can also cut the butter into a few pieces to speed up the softening process even more.
Can I Make this Vanilla Birthday Cake Vegan?
Yes! To make this cake dairy-free and egg-free, substitute the butter for vegan butter. Omit the eggs and use apple cider vinegar or ‘flax eggs’ as an alternative. To decorate your vegan vanilla birthday cake, use the chocolate buttercream recipe here.
Tips for Making Vegan Cake
When making this cake vegan means that it won't rely on eggs or dairy. Therefore, here are a few steps that are slightly different from your typical cake-making process that will be important:
- Start by making vegan “buttermilk”. Combine the dairy-free milk with the vinegar and let it sit for 5 to 10 minutes to sour a bit.
- Use melted butter for easier blending.
- Make sure you let the cakes cool fully before trying to frost them. Otherwise, your frosting will melt right off.
Can I Use Other Types of Milk?
Absolutely! If you’d like to switch things up with the type of plant-based milk that you use—–that’s totally fine! The world of plant-based milk is constantly expanding. From the classics like coconut milk, cashew milk, soy milk and almond milk, we now have delicious options like oat milk, and even potato and quinoa milk.
Vanilla Birthday Cake with Chocolate Frosting Q + A's
Store leftover cake in an airtight container in the fridge for up to five days. Or freeze the cake for up to 3 months. To serve, defrost the cake for a few hours on the counter.
When it comes to the main ingredient of this entire recipe—-the flour, I enjoy using Bob’s Red Mill Unbleached White All-Purpose Flour, which is ideal for all kinds of baking, including this one.
However, I do occasionally use Super-Fine Cake Flour which adds a nice airiness and fluffiness to your cakes as well.
Sure! To turn this cake recipe into individual cupcakes, simply divide the batter between about 30 cupcake wells. Bake for 18 to 20 minutes, until the centers are set.
If you would love to make this cake gluten-free, then substituting all-purpose flour with Bob’s Red Mill 1-to-1 Baking Flour is the easiest option. It’s a special blend of gluten-free flours, starches, and xanthan gum, which makes these donuts just as soft, fluffy, and airy as the original! They also have a great All-purpose GF flour that works great as well.
More Grandma-Inspired Recipes to Try
If you love making comforting recipes like Grandma’s Vanilla Birthday Cake then you will love these other delicious recipes:
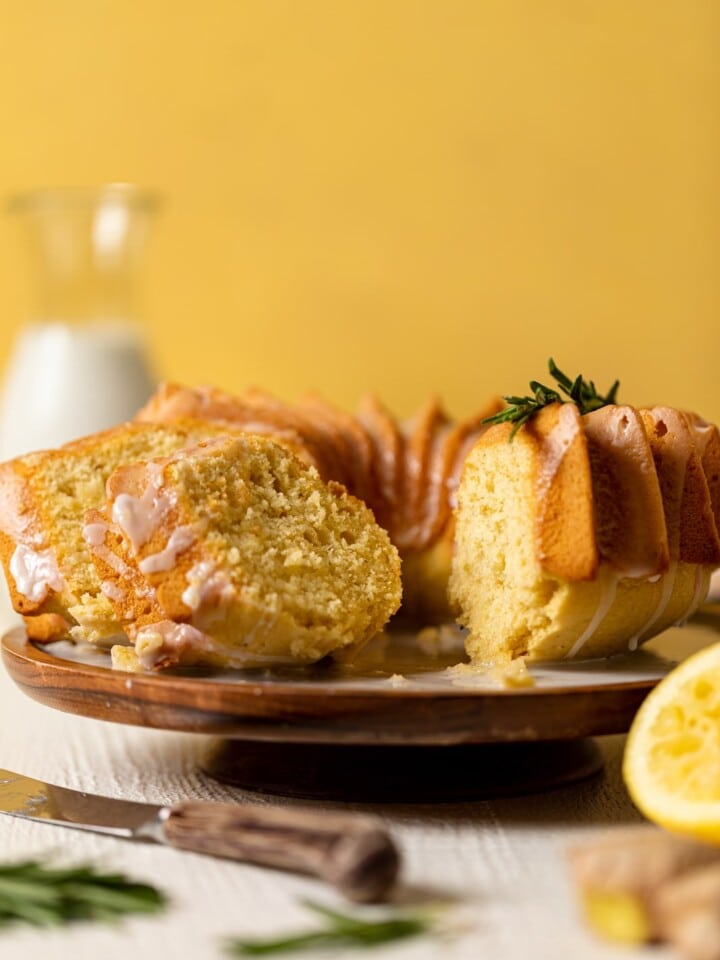
- Southern Salted Caramel Cake
- Perfect One-Bowl Lemon Birthday Sheet Cake
- Soft Oversized Crinkled Sprinkle Sugar Cookies
- Vanilla Yogurt Cake
- Big Bakery-Style Oatmeal Chocolate Chip Cookies
- Southern Baked Mac and Cheese
- Vegan Fudge Zucchini Brownies with Sprinkles
- Southern-Style Bacon Grilled Cheese Sandwich
- Chicken Pot Pie
- Copycat Broccoli Mac + Cheese
- Classic Southern Banana Pudding
MADE OUR RECIPE(S)?
If you tried this Grandma’s Vanilla Birthday Cake with Chocolate Frosting recipe or any other recipe on my website, please please leave a 🌟 star rating and let me know how you go in the 📝 comments below. And don't forget to tag @orchidsnsweettea_ on Instagram and hashtag it #orchidsandsweettea! I love hearing from you!
Grandma’s Vanilla Birthday Cake with Chocolate Frosting
Ingredients
CAKE:
- 2 cups organic all-purpose flour
- 2 cups organic cake flour (See Notes)
- 1 ½ cups organic cane sugar
- 2 ½ tsps baking powder
- 1 cup salted butter, softened at room temp. (You can also use unsalted butter; Just add 1 teaspoon salt when using)
- 4 large organic eggs, at room temp.
- 2 egg yolks, at room temp.
- 2 tsps vanilla extract
- ¼ cup vegetable oil (You can also substitute with Extra virgin olive oil)
- 1 ¼ cups "Buttermilk" (I use Almond milk + 1 tablespoon lemon juice; Feel free to use whole milk, if desired)
CHOCOLATE FROSTING/BUTTERCREAM:
- 4-5 cups Whipped Chocolate Buttercream Frosting (I like to add 1-2 tsps of peanut butter to the frosting in this recipe for a nostalgic taste)
TOPPINGS:
- Rainbow sprinkles
Instructions
MAKE THE CAKE:
- Begin by preheating your oven to 350 degrees Fahrenheit. Lightly grease (with butter) AND line with parchment paper the bottoms of TWO 9-inch or 8-inch cake pans (for thicker layers) or THREE 6-inch cake pans.
- In a bowl, whisk together the milk and lemon juice and set aside for 5-10 minutes until everything "activates" to create the dairy-free "buttermilk".
- In a large bowl, whisk together the flour and baking powder until combined.
- In a bowl, add the butter and sugar, beating them together using a hand-mixer (on high-speed), until pale and fluffy, about 2-3 minutes.
- Add the eggs (one at a time) followed by the egg yolks, oil, and vanilla, mixing until combined. On low-speed, add in the dry ingredients followed by the buttermilk and continue to mix until combined and the batter is smooth, about 3-4 minutes. NOTE: The batter should be thick, yet slowly run off the whisk once lifted.
- Divide the batter evenly into each of the cake pans and bake for 30-35 minutes, or until a toothpick or butter knife comes out clean when tested in the centers.
- Remove cakes from the oven and let them rest in the pan for 10 minutes or so before removing the cakes and placing them onto a cooling rack to fully cool. NOTE: Let them cool for at least 1-2 hours in a cool place.
MAKE THE BUTTERCREAM FROSTING:
- For the best results, see my Whipped Chocolate Buttercream Frosting recipe! NOTE: I like to add 1-2 tsps of peanut butter to the frosting in this recipe for a nostalgic taste.
ASSEMBLY:
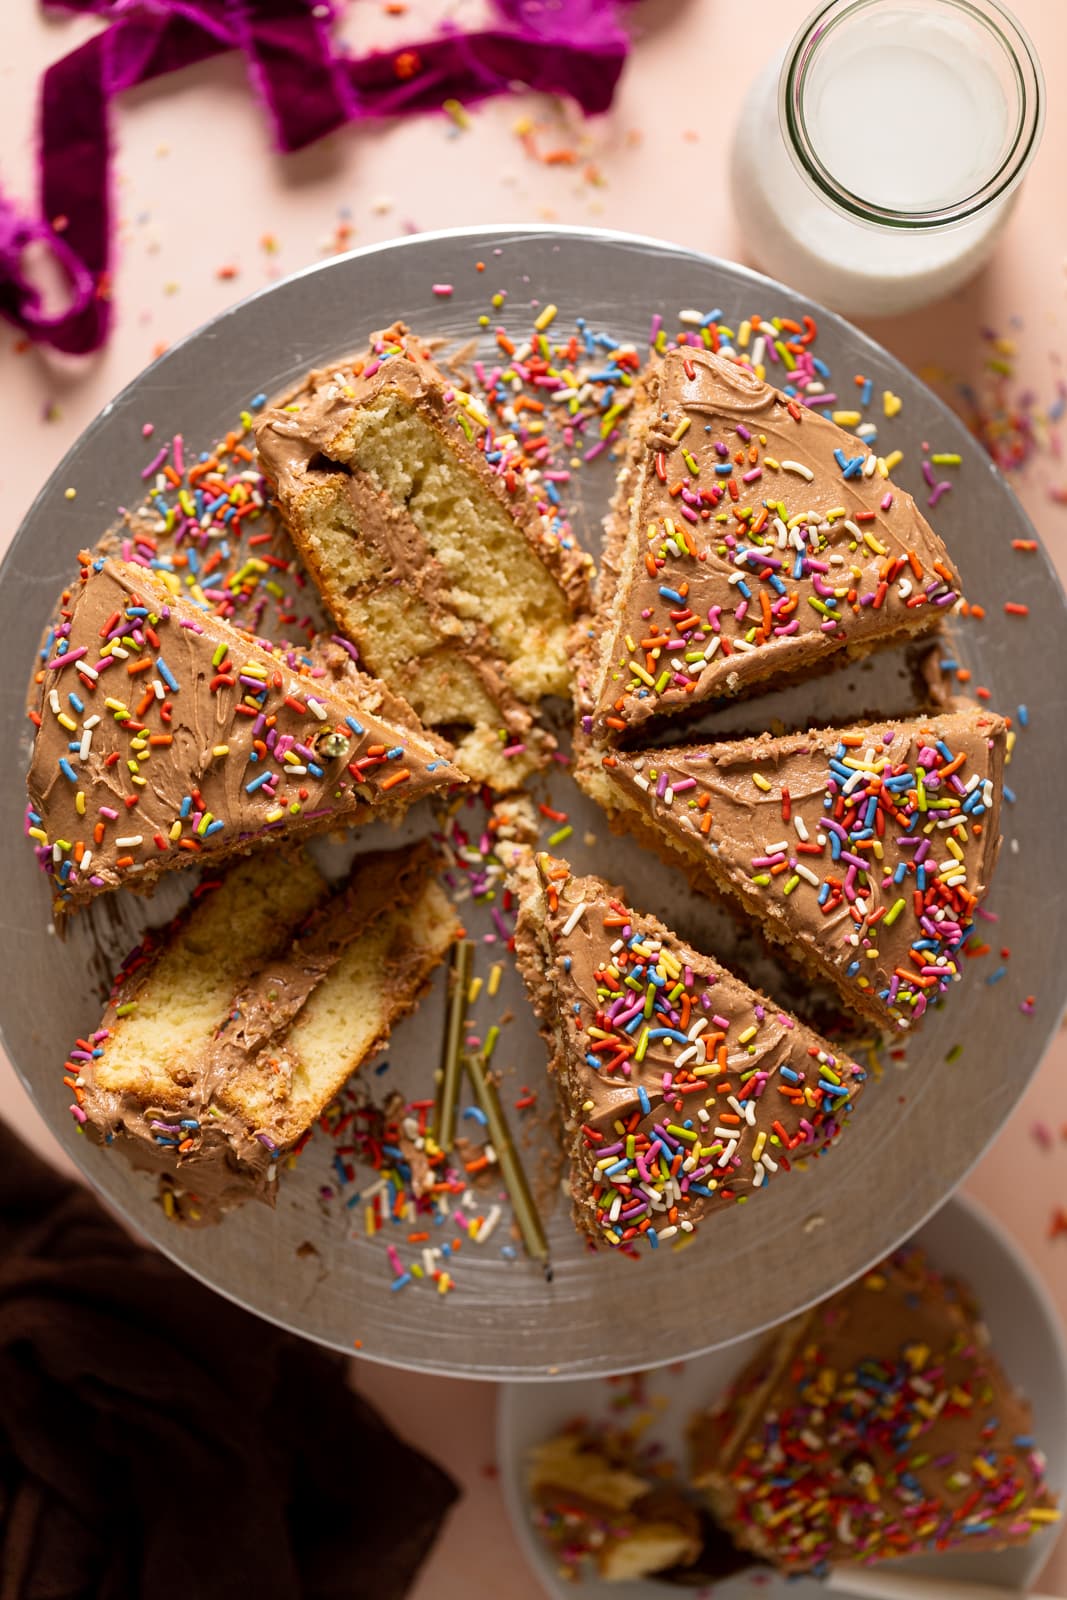
- Place the first cake layer on your cake stand and evenly cover the top with buttercream and a handful of rainbow sprinkles. Now, top with 2nd layer and add more buttercream atop that layer, spreading it over the tops and sides of cake, evenly and thinly. NOTE: If making a 3-layer, be sure to repeat step 1 of assembly once again before getting to the final layer.
- Once fully frosted, add small little designs of the buttercream using a piping bag + tip around the sides and top of cake. Feel free to add handfuls of rainbow sprinkles to the tops and side of cake, if desired. Chill for 5 minutes to ensure that buttercream sets.
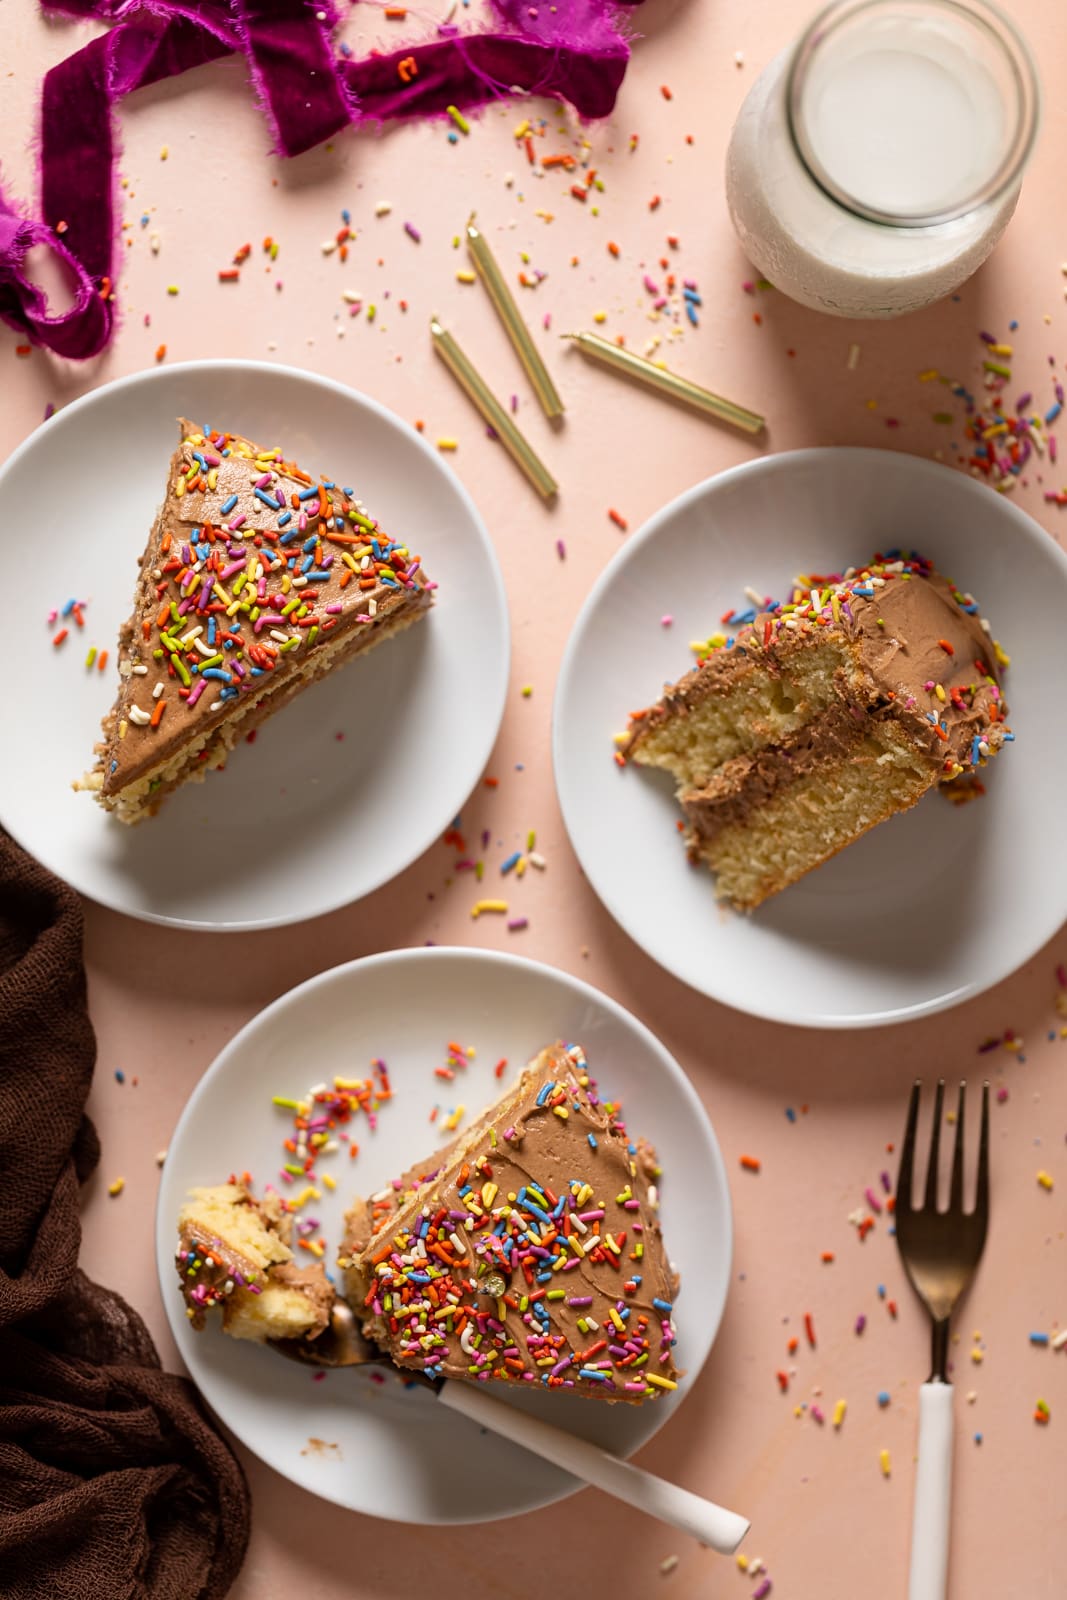
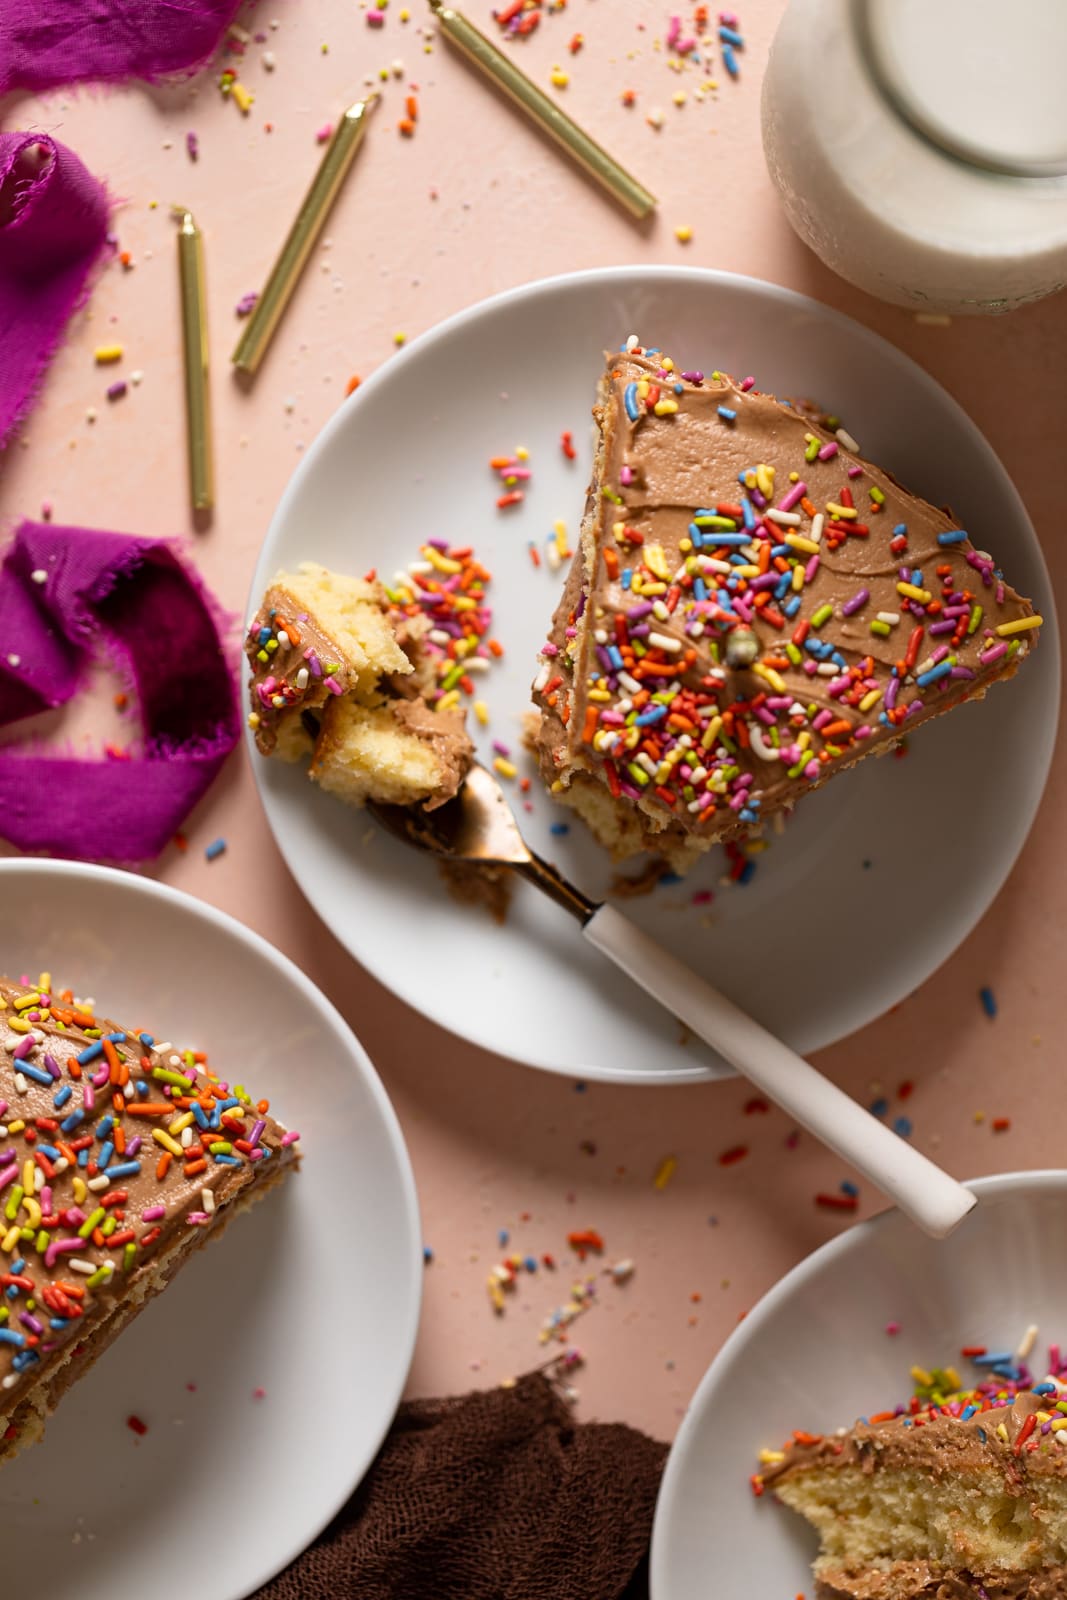
- When ready to serve, remove from the refrigerator. Slice and enjoy!
- Bon Appetit!
Tips & Tricks
- STORAGE: Keep cake leftovers stored for up to 4-5 days in the fridge. Keep it in an airtight container to keep the cake from drying out. You can also freeze the cake tightly wrapped in plastic wrap for up to 3 months. Before serving, defrost the cake on the counter.
- FLOUR: You can also use cake flour in place of all-purpose flour for a fluffier texture.
- VANILLA CUPCAKES + CHOCOLATE FROSTING: This recipe yields about 30 cupcakes. Simply bake for 18-20 minutes instead, until centers come out clean.
- DAIRY BUTTERMILK: Add 1 cup of organic heavy cream + 1 tablespoon lemon juice and let sit for 10 minutes, until it thickens.
- VEGAN OPTION: To make this cake entirely dairy-free + vegan, simply omit the salted or unsalted butter and eggs and use vegan butter instead and add 1 tablespoon apple cider vinegar to milk instead of lemon juice. Ensure that all ingredients are vegan-friendly, including cocoa powder and rainbow sprinkles.
Nutrition
DID YOU MAKE THIS recipe?
Tag @orchidsnsweettea_ on Instagram and hashtag it #orchidsandsweettea

LOVE THIS RECIPE?
LET US KNOW!
This cake brings back such great memories. It was all about the frosting and licking the spoon. I definitely need to make this for my kids.
I love this perfect, classic vanilla cake!
Such a lovely old fashioned cake for a birthday party! Easy to make and even easier to eat!
This is the perfect birthday cake! Love the simple instructions and all the helpful tips. Thanks for sharing 🙂
How yummy! I love the vanilla and chocolate combination and that hint of peanut butter in the frosting is just enough!