
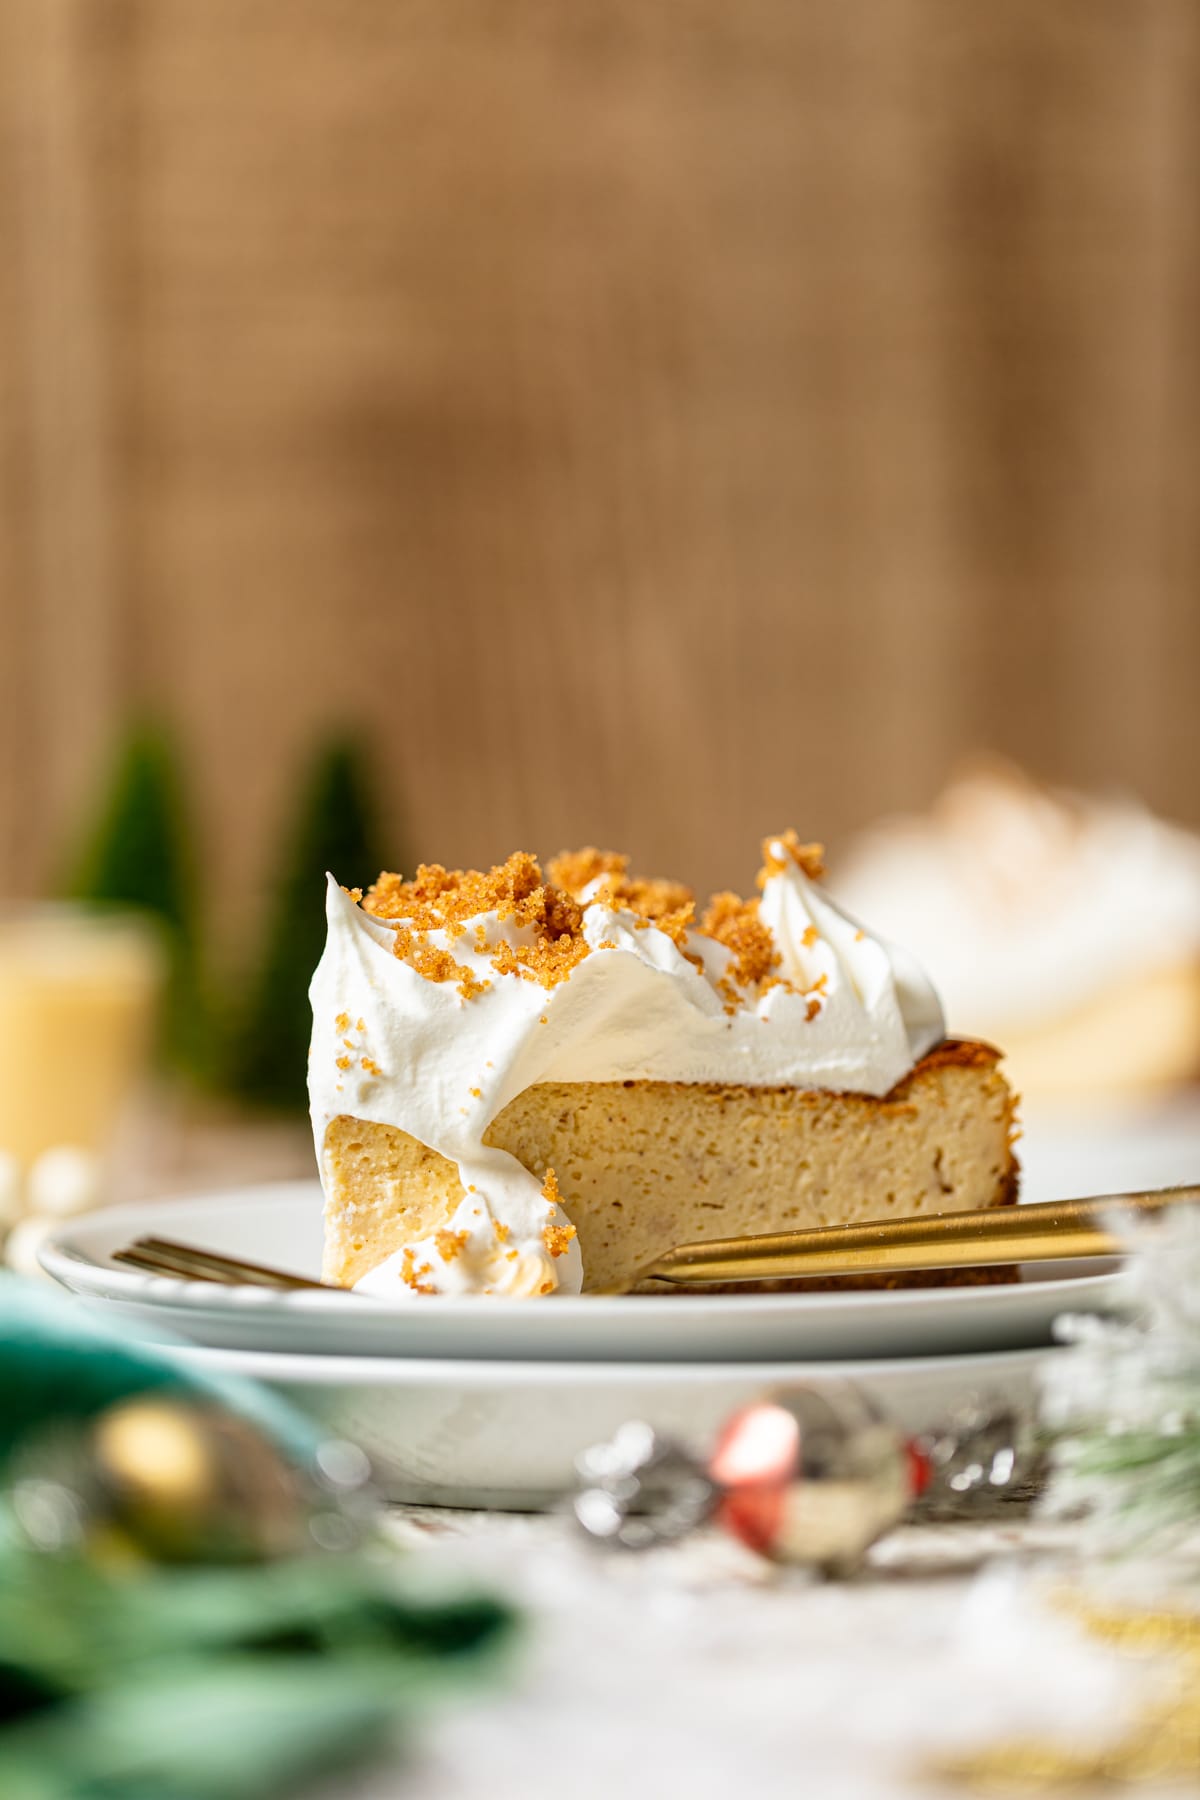
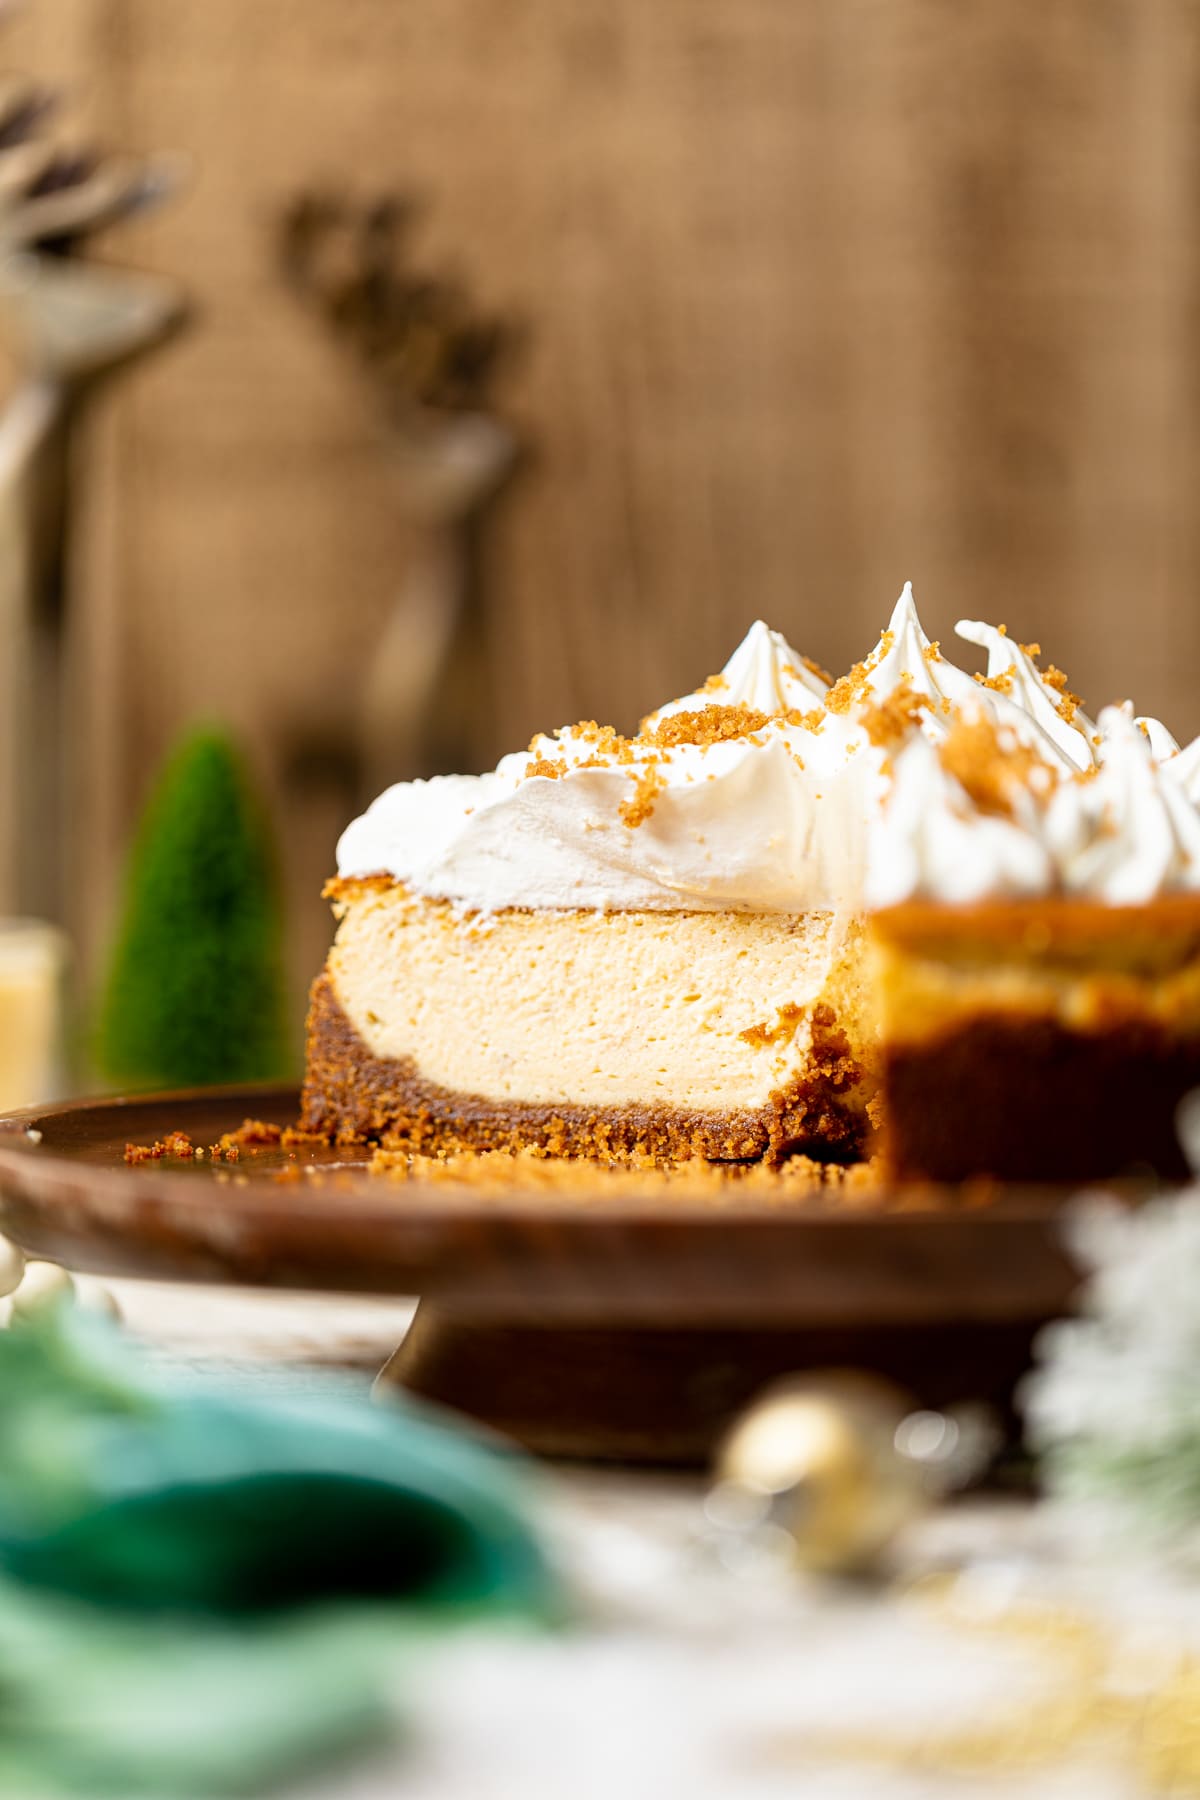
Eggnog Cheesecake + Snickerdoodle Crust
DISCLAIMER: This post may contain affiliate links, which means that I make a small commission off items you purchase at no additional cost to you. Please read my policy page!
Eggnog Cheesecake + Snickerdoodle Crust
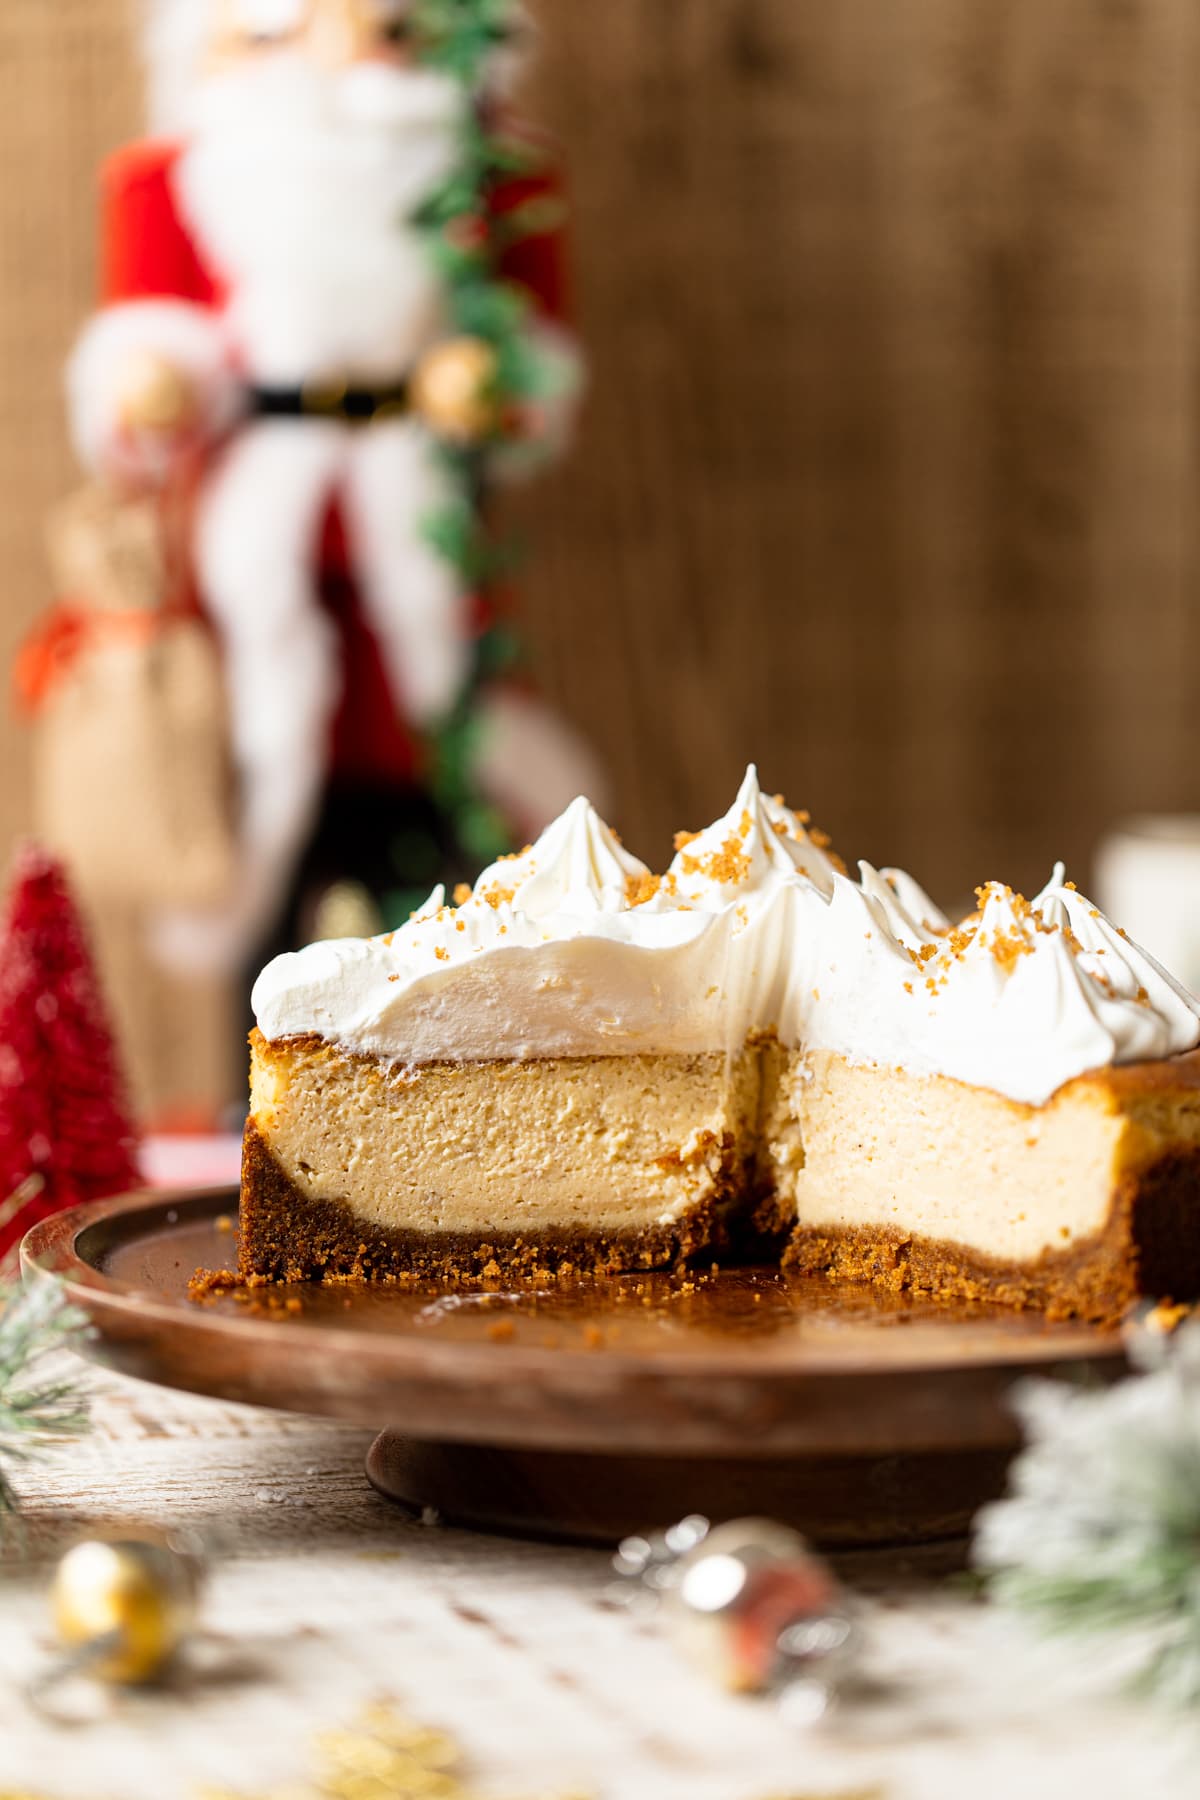
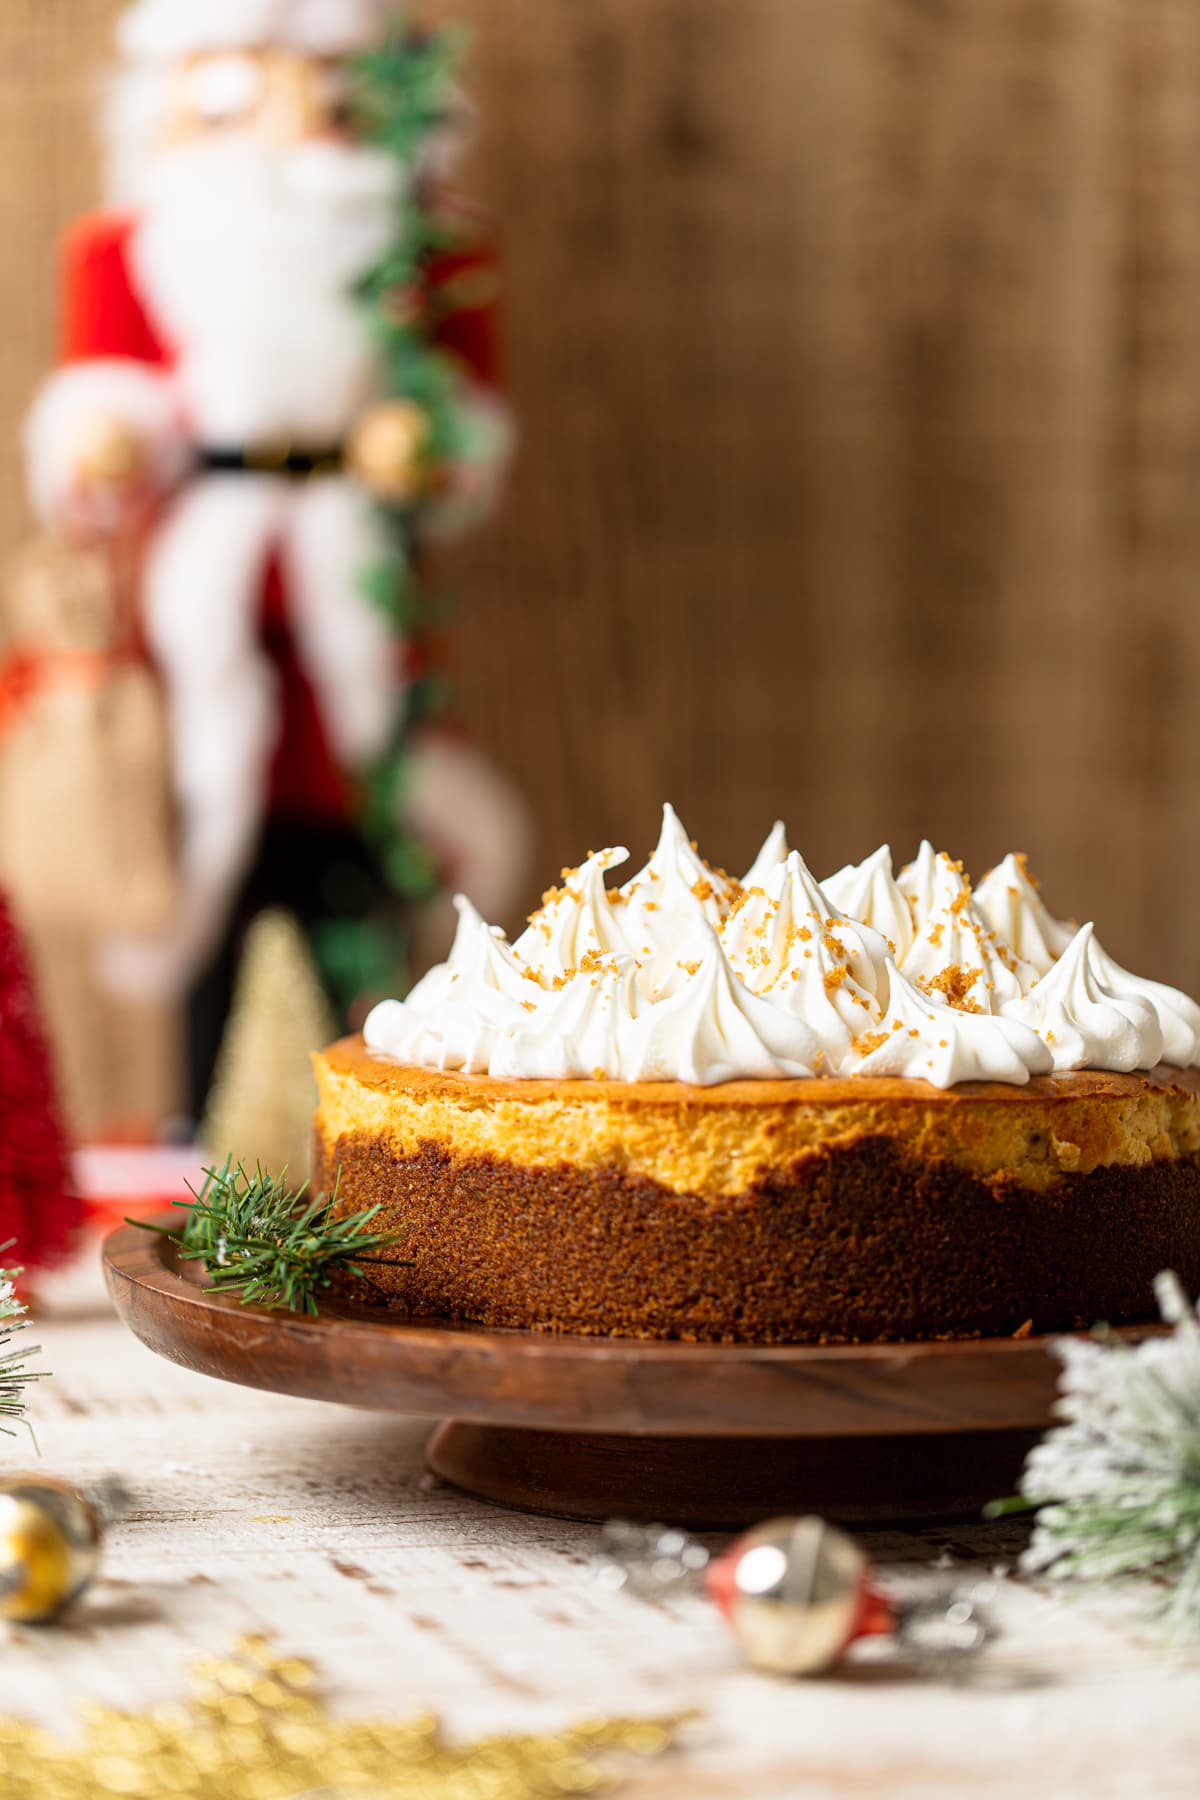
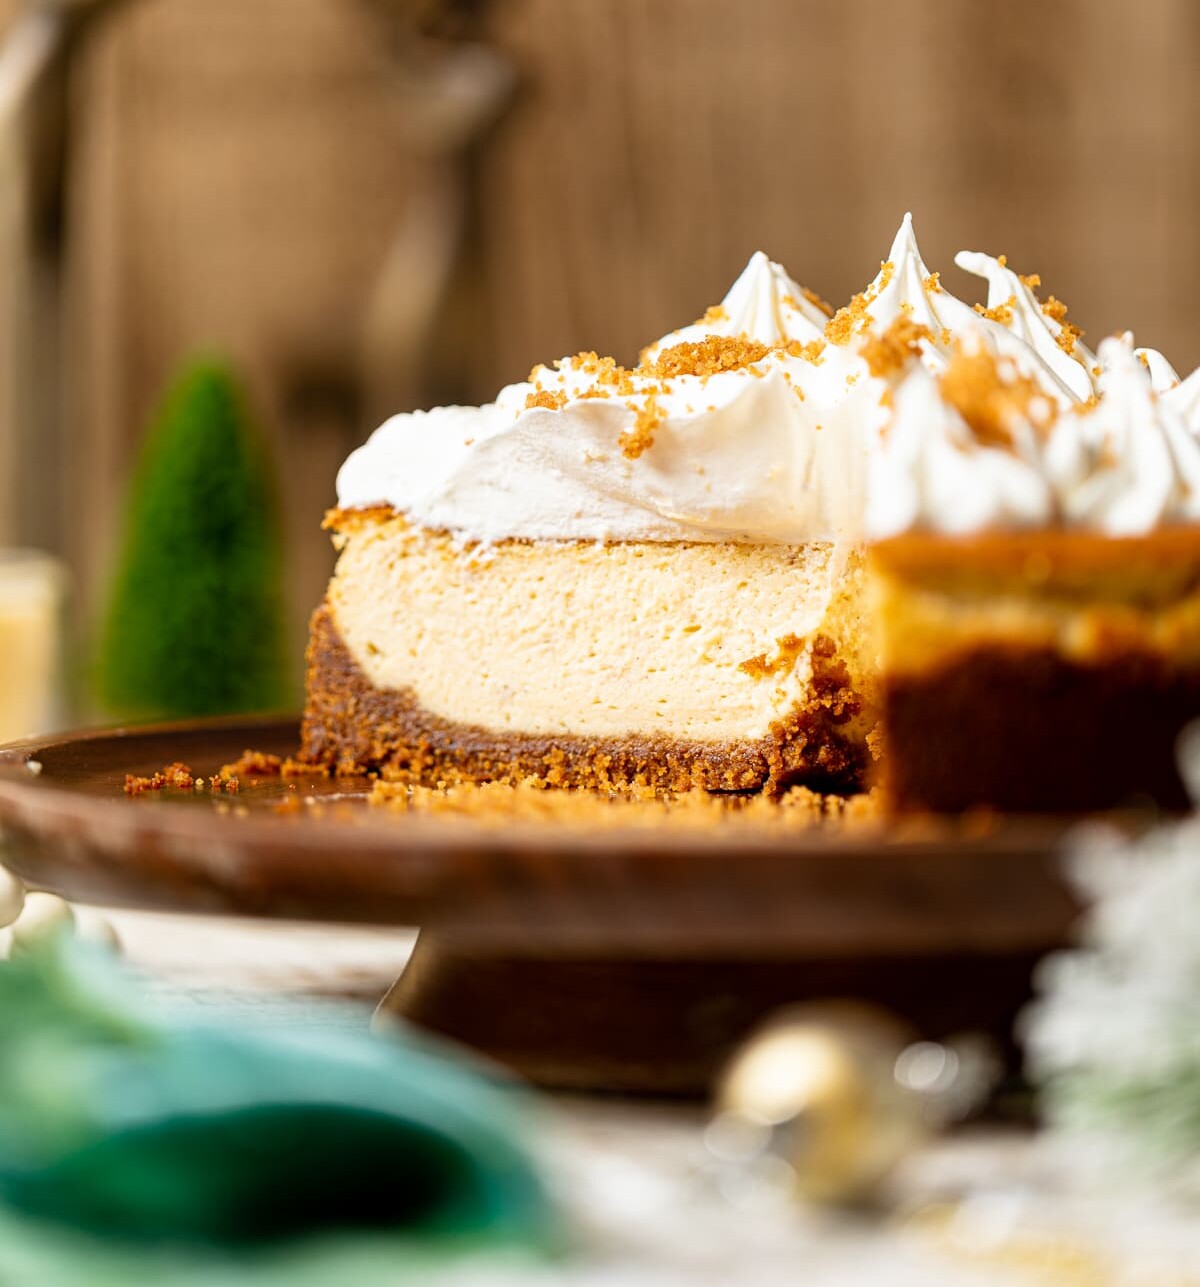
Who doesn't love fresh snickerdoodle cookies with a nice glass of eggnog? Instead of leaving regular cookies and nog out for Santa this year, try my Eggnog Cheesecake + Snickerdoodle Cookie Crust recipe instead! Real snickerdoodle cookies are blended with butter to make a decadent crust, while the cheesecake filling is full of eggnog and spices. This is your new favorite holiday dessert!
Get ready, because Santa Claus is on his way! Are you all set for his annual visit? I adore traditions like leaving out Snickerdoodle cookies and milk for Santa—it's such a festive touch! And speaking of festive, holidays are all about indulgence, especially in desserts. I've merged my favorite Santa cookie with a beloved holiday drink to create Eggnog Cheesecake with a Snickerdoodle Cookie Crust! It's the perfect blend of holiday treats in one decadent dessert!
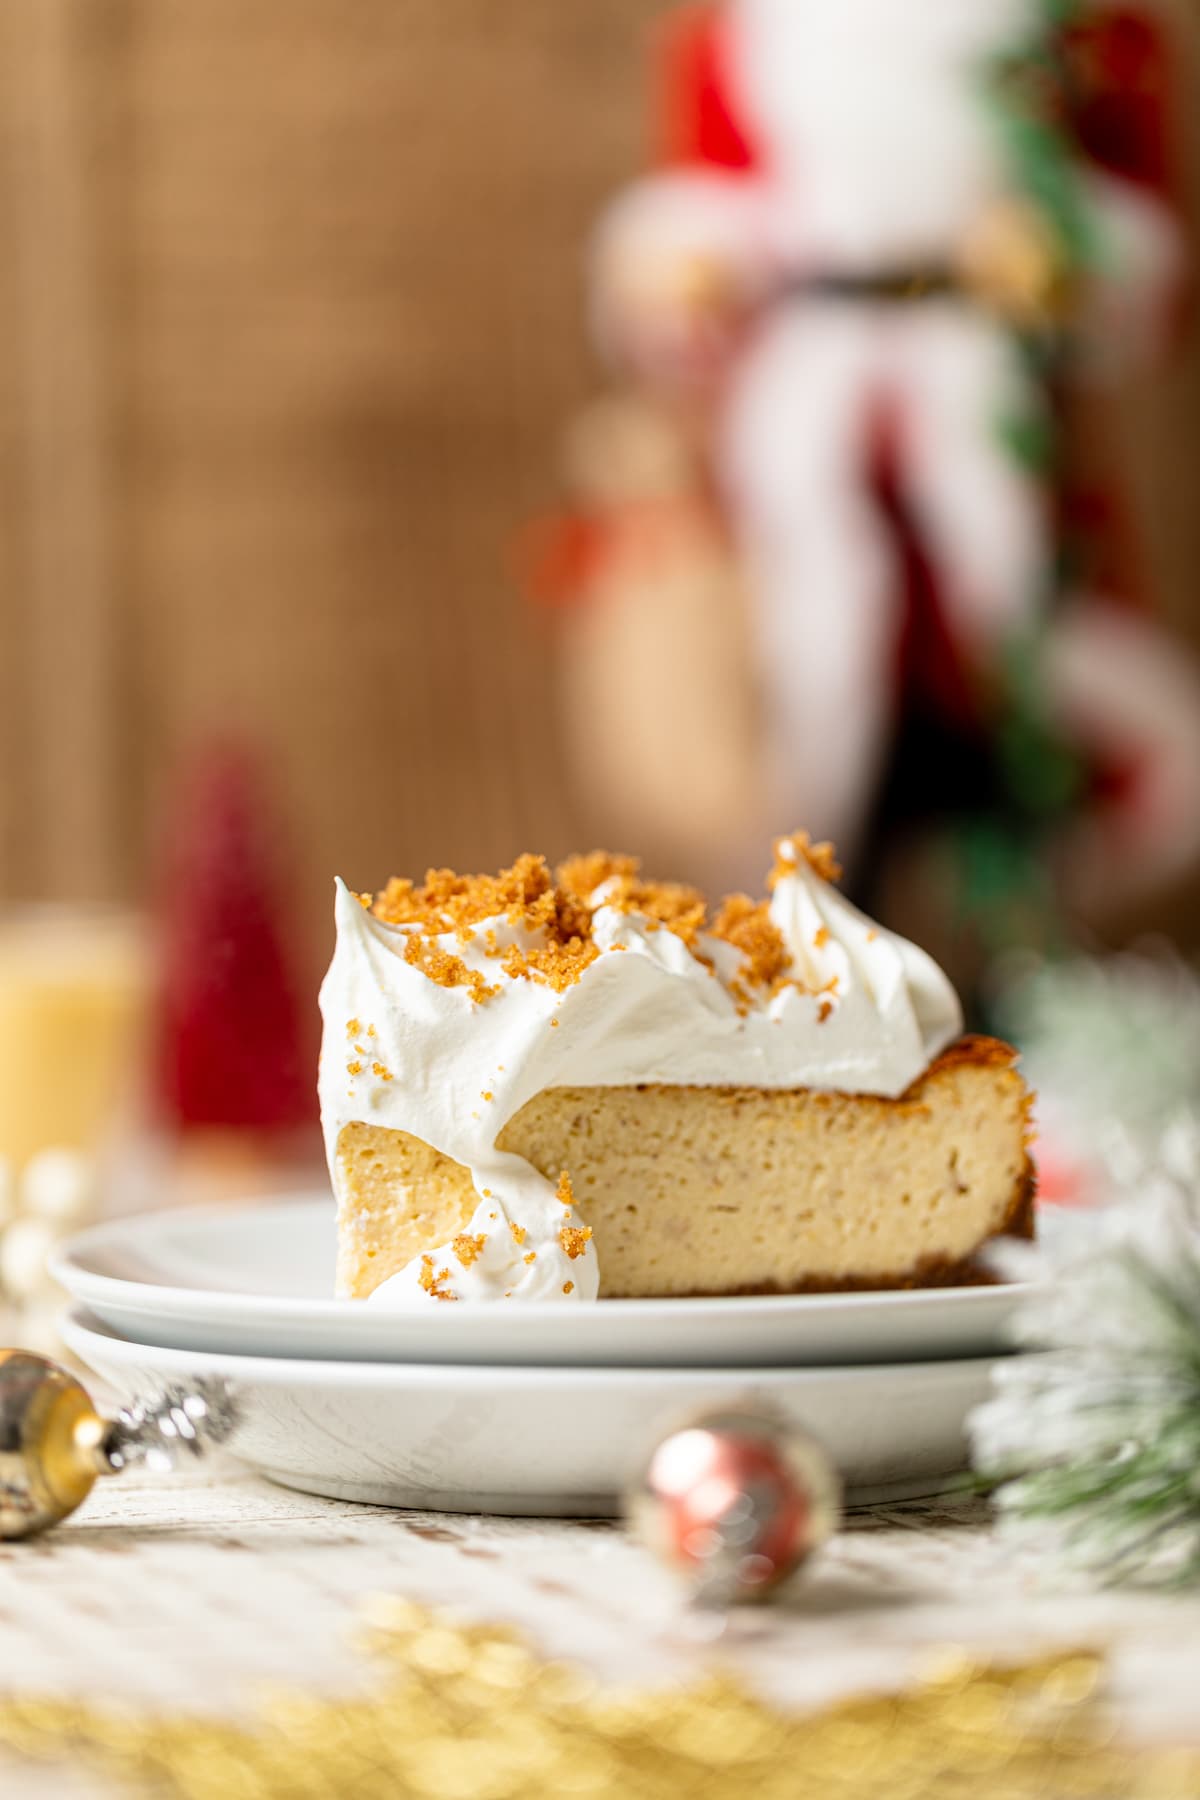
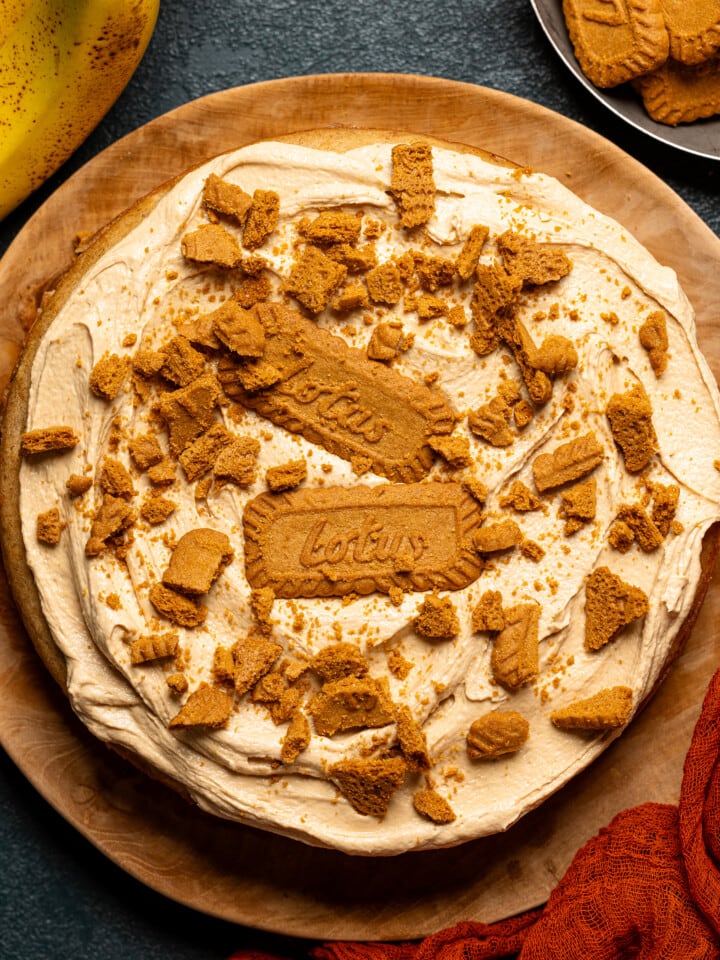
This cheesecake tastes exactly like Christmas. The cookie crust is made with lots of fresh cookie crumbs, butter, brown sugar, and cinnamon. It gets nice and crisp in the oven next to the creamy eggnog cheesecake layer. And if you're into cheesecake then this Caramel Apple Cheesecake, Spiced Chai Cheesecake + Gingersnap Crust, White Chocolate Cheesecake with Cranberries, and Peppermint Oreo Cheesecake are worth indulging in! And for my eggnog lovers, definitely try indulging in the holiday spirit with these Homemade Baked Eggnog Donuts!
This eggnog cheesecake recipe tastes like the holidays, so be sure to have it this year on your dessert table. Adults and kids alike obsess over this cheesecake. Prepare to be captivated by the perfect balance of tangy, sweet, + buttery notes in every delightful bite. Of course, the filling is velvety, soft, fluffy, and light. Definitely melts-in-your-mouth. This fall/winter dessert recipe is sure to be a crowd-pleaser!
Jump to:
- How to Make Eggnog Cheesecake + Snickerdoodle Cookie Crust
- Ingredients in Eggnog Cheesecake
- What Is Eggnog?
- Why You’ll Love This Eggnog Cheesecake
- How To Make Your Own Whipped Cream
- How To Serve Eggnog Cheesecake
- Tips for Making the Perfect Holiday Cheesecake
- Common Q + A's For This Eggnog Cheesecake Recipe
- Other Holiday 'Feel Good' Recipes You'll Love
- MADE OUR RECIPE(S)?
- Eggnog Cheesecake + Snickerdoodle Crust
How to Make Eggnog Cheesecake + Snickerdoodle Cookie Crust
This Eggnog Cheesecake recipe has three main components: the snickerdoodle crust, eggnog filling + whipped cream as the topping. Here's what you'll need:
Ingredients in Eggnog Cheesecake
Snickerdoodle Cookie Crust:
- Snickerdoodle cookies. Crushed-- Feel free to use your fave brand or make your own.
- Brown sugar. Organic is best here. This adds sweetness to the crust.
- Ground cinnamon. For a hint of warmth
- Butter. Unsalted + melted
Cheesecake Filling:
- Organic cream cheese. Make sure your cream cheese is fully softened to room temperature for easy blending.
- Organic cane sugar.
- Organic all-purpose flour. I use Bob’s Red Mill flour for all baking projects.
- Vanilla. Use pure vanilla extract for the best flavor!
- Organic eggs. At room temp.
- Greek yogurt. Plain full-fat unsweetened!
- High-quality eggnog. The star ingredient! Brings creaminess + richness. I like using a lactose-free eggnog like lactaid so it's a little easier to digest but use whatever brand you prefer!
- Spices. Ground cinnamon, nutmeg + cloves
- Sea salt. Enhances the overall taste by balancing the sweetness and flavors.
Toppings:
- Whipped cream. See below for how to whip your own cream!
- Snickerdoodle cookies. Crumbled.
SHOP MY FAVORITE TOOLS FOR BAKING, ESPECIALLY FOR THIS CHEESECAKE!
Here, I’ve curated a list of baking essentials that I use to achieve my favorite baked goods, especially with this Eggnog Cheesecake. Everything from my fave loaf pan, wooden spoons, parchment paper, and more. SEE THEM HERE!
What Is Eggnog?
Eggnog is like the cozy heart of the holiday season! It's this creamy, dreamy drink made with milk, cream, sugar, eggs, and a sprinkle of spices like nutmeg or cinnamon. Some folks like to add a dash of rum or bourbon for an extra festive kick. It's like a sip of holiday cheer, all creamy and delicious, perfect for those chilly winter days! BUT eggnog isn't just for sipping— You can add this creamy concoction to all sorts of baked goods--- Think eggnog-flavored cookies, cakes, cheesecakes, pancakes + more! If you are vegan or dairy-free check out my Creamy Homemade Vegan Eggnog recipe!
Why You’ll Love This Eggnog Cheesecake
- The perfect marriage of creamy eggnog cheesecake + comforting snickerdoodle cookie flavor
- The epitome of DELICIOUS.
- The ultimate eggnog recipe AKA the PERFECT holiday dessert!
- Perfect textural balance of smooth + crumbly layers.
- Make-ahead option for stress-free entertaining.
- A total crowd-pleasing dessert that will have everyone asking for seconds.
- Pure indulgence in every mouthwatering bite.
How To Make Your Own Whipped Cream
If you'd like to add an extra layer of deliciousness to this holiday cheesecake by dolloping a bit of whipped cream on top---no worries! While you do have the option of purchasing store-bought whipped cream, here's how you make your own easily in a stand-mixer:
- Chill your bowl. Before you begin, be sure to add the bowl of your mixer to the freezer for about 10 minutes so that it's greatly chilled. This helps the ingredients to whip faster and with best results.
- Whip the ingredients. In the bowl of an electric mixer on medium-high speed, whip 2 cups of organic heavy cream and 1 teaspoon vanilla, using the whisk attachment for 4-5 minutes. At some point, fluffy peaks should begin to form. Stop mixing, scoop the whipped cream into a jar or sealed container and set aside in the refrigerator until ready to use. Voila! The perfect holiday dessert
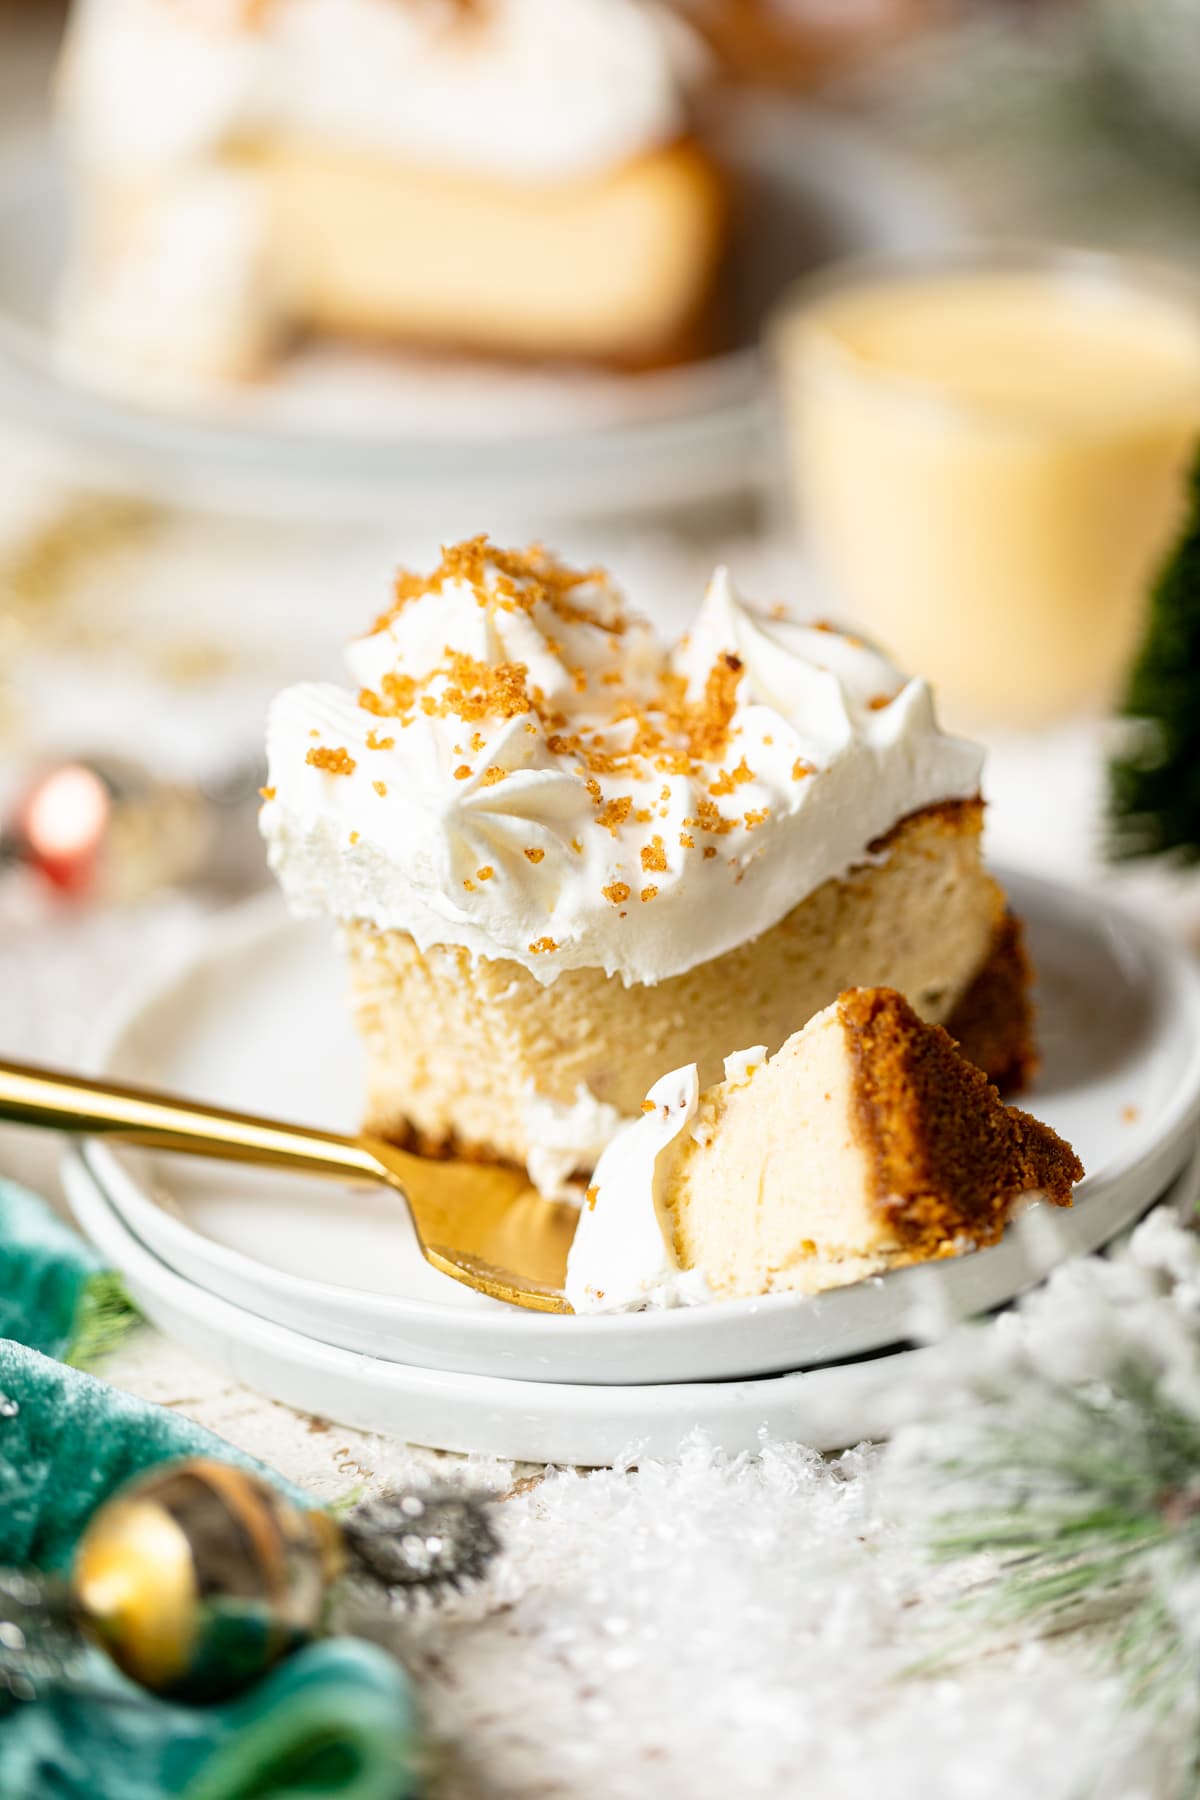
How To Serve Eggnog Cheesecake
Once chilled and set, slice the cheesecake into portions using a sharp knife dipped in hot water and wiped clean between cuts for smooth edges. You can enhance the experience by adding a scoop of vanilla ice cream or even caramel ice cream. For an extra indulgence, drizzle it with caramel sauce or sprinkle some cinnamon!
And to complement this delicious dessert, consider pairing it with a glass of eggnog, such as my Vegan Caramel Eggnog Mocktail, Creamy Homemade Vegan Eggnog, or Gingerbread Eggnog Mocktail—perfect for rounding off this festive feast!
Tips for Making the Perfect Holiday Cheesecake
AVOID THOSE LUMPS!
Always, ALWAYS soften your cream cheese at room temperature for a minimum of 30 minutes to ensure that it can be fully smooth when you beat it in an electric mixer.
COMBINE CAREFULLY + SLOWLY.
Be sure to add in the eggs ONE AT A TIME and always keep the mixer's speed on low to avoid over-mixing. A light mix always does the trick!
USE THE RIGHT PAN.
I find that using the correct baking pan helps to make a great cheesecake as well. I like using the traditional cheesecake pans that pop out at the bottom for whole cheesecakes. When making cheesecake bites, I prefer lining the pan with cupcake liners for ease.
ALWAYS ADD A WATER BATH.
I like to add a small pot of water on the lower rack of the oven while I bake my cheesecakes, cakes, cupcakes, etc. However, you can always add your cheesecake pan within another pan that has a small amount of water as your bath. Either way, it keeps in the proper moisture and helps everything to bake nicely.
KEEP THE OPENING OF THE OVEN DOOR AT A MINIMUM.
Yup, that's right. No quick peeking every few minutes. Every time that the oven door is open, it causes your cheesecakes to inflate from the sudden shift in temperature. That's why it's imperative to end the baking of your cheesecakes by turning off the oven and cracking open the oven door slightly for a few minutes before removing them from it entirely.
DO THE WOBBLE, WOBBLE TEST!
When checking to see if your cheesecake is done, always do the jiggle test to ensure that it only jiggles slightly in the middle. Don't worry---while it cools, the trapped heat will continue to cook the center nicely.
COOL, COOL, AND COOL!
Lastly, be sure that your cheesecake is FULLY cooled before covering. This avoids condensation from forming. Once fully cooled at room temperature, you're free to refrigerate it for an hour (uncovered) and then you can place foil or plastic wrap over it after that.
Common Q + A's For This Eggnog Cheesecake Recipe
Leftover Cheesecake can be stored (tightly wrapped) in the refrigerator for up to 5 days. For best results, keep cheesecake in the freezer until the night before you’re ready to serve. Defrost by refrigerating.
Absolutely! This is a great make-ahead dessert! It needs to chill for at least an hour, but it's even better if you make it the day ahead of time and let it firm up in the fridge. Just be sure to tightly wrap the cake in plastic wrap. You can assemble the cake just before serving.
Absolutely! You can turn this cheesecake recipe into cute bite-sized mini cakes. Simply use a muffin tin to assemble and bake the cake. It will make about 2 dozen cheesecake bites. You will need to reduce the baking time because the cakes are smaller, so check on things after about 20 minutes. What a dreamy bite-sized holiday dessert!
A cracked cheesecake won't affect the taste! You can cover any cracks with whipped cream, frosting, or a topping of your choice.
Of course! Graham crackers, vanilla wafers, or speculoos cookies are great alternatives for the crust.
Other Holiday 'Feel Good' Recipes You'll Love
If you enjoy my Eggnog Cheesecake recipe, try these recipes, too!
- Vegan Gingerbread Latte
- Sparkling Cranberry Orange Ginger Mocktail
- Soft + Chewy Gingerbread Oatmeal Cookies
- Vegan Caramel Eggnog Mocktail
- Caramel Eggnog Cupcakes
- Sweet Potato Bundt Cake + Maple Glaze
- Grandma's Dutch Apple Pie
- Ultimate Holiday Mocktail
MADE OUR RECIPE(S)?
If you tried this Eggnog Cheesecake + Snickerdoodle Crust recipe or any other recipe on my website, please please leave a 🌟 star rating and let me know how you go in the 📝 comments below. And don't forget to tag @orchidsnsweettea_ on Instagram and hashtag it #orchidsandsweettea! I love hearing from you!
Eggnog Cheesecake + Snickerdoodle Crust
Ingredients
SNICKERDOODLE COOKIE CRUST:
- 3-4 cups crushed snickerdoodle cookies (That's about 1 box of cookies)
- 3 Tbsps organic brown sugar
- 1 teaspoon ground cinnamon
- 3 Tbsps unsalted butter, melted
CHEESECAKE FILLING:
- 16 ozs. organic cream cheese, softened at room temp. (That's 2 packs!)
- ¾ cup organic cane sugar
- 3 Tbsps organic all-purpose flour
- 2 tsps vanilla extract
- 2 large organic eggs, at room temp.
- 3 Tbsps full-fat plain Greek yogurt
- ⅓ cup high-quality eggnog
- 1 teaspoon ground cinnamon
- ½ teaspoon ground nutmeg
- ⅛ teaspoon ground cloves
- ¼ teaspoon sea salt
TOPPINGS:
- Whipped cream
- Snickerdoodle cookies, crumbled
Instructions
SNICKERDOODLE COOKIE CRUST:
- Preheat oven to 350 degrees Fahrenheit and prepare a 7 or 8-inch cheesecake pan by lightly greasing it with butter.
- Grind the snickerdoodle cookies until almost finely ground (it’s OK to leave a few medium chunks, if your’e a lover a little crunch!). Combine the snickerdoodle, cinnamon, brown sugar and melted butter in a small bowl and mix with a spatula until well incorporated.
- Add the mixture into the prepared pan and press down into the bottom with your fingers (focusing on the middle) to ensure that it’s perfectly covering the bottom and sides (like a deep well).
- Bake the crust for about 5 minutes and then remove from oven and allow it to cool until you’re ready to use.
BEAT TOGETHER THE CHEESECAKE FILLING:
- In the bowl of an electric mixer, mix together on low speed: the cream cheese, sugar, and flour until combined. Be sure to scrape the sides and bottom of the bowl if needed.
- Next, add the vanilla extract and the first egg and beat slowly until mostly combined. Then add the remaining egg and mix until well combined, still mixing everything on low speed. Now, add the eggnog, yogurt and spices and continue mixing until combined.
- Change mixer attachment to a whisk and beat on medium-high speed for 1-2 minutes or so until completely smooth and lump-free. NOTE: DO NOT OVER-MIX. Be sure to stop once the batter becomes smooth.
- Pour the batter into the prepared pan until ¾ filled. NOTE: Leaving a bit of room at the top prevents the cheesecake from spilling over while baking.
- Bake the cheesecake for 35-40 minutes (until center comes out mostly clean when tested with a toothpick or knife), then turn off the oven and allow it to sit in the oven for another 5 minutes with the oven door halfway open to avoid cheesecake from deflating. NOTE: When baking, I always prepare a medium pot with water and add it to the oven as well, to keep cheesecake temperature even and to add moisture.
- Bon Appetit!
Tips & Tricks
- STORAGE: Leftover Cheesecake can be stored (tightly wrapped) in the refrigerator for up to 5 days. For best results, keep cheesecake in the freezer until the night before you’re ready to serve. Defrost by refrigerating.
- CHEESECAKE BITES: If you turn this recipe into cheesecake bites, you’ll make about 2 dozen bites.
- YOGURT: If you don't want to use yogurt for this recipe, you can substitute with low-fat sour cream.
Nutrition
DID YOU MAKE THIS recipe?
Tag @orchidsnsweettea_ on Instagram and hashtag it #orchidsandsweettea

LOVE THIS RECIPE?
LET US KNOW!