
Creamy Roasted Garlic Cauliflower Chickpea Soup
Creamy Roasted Garlic Cauliflower Chickpea Soup
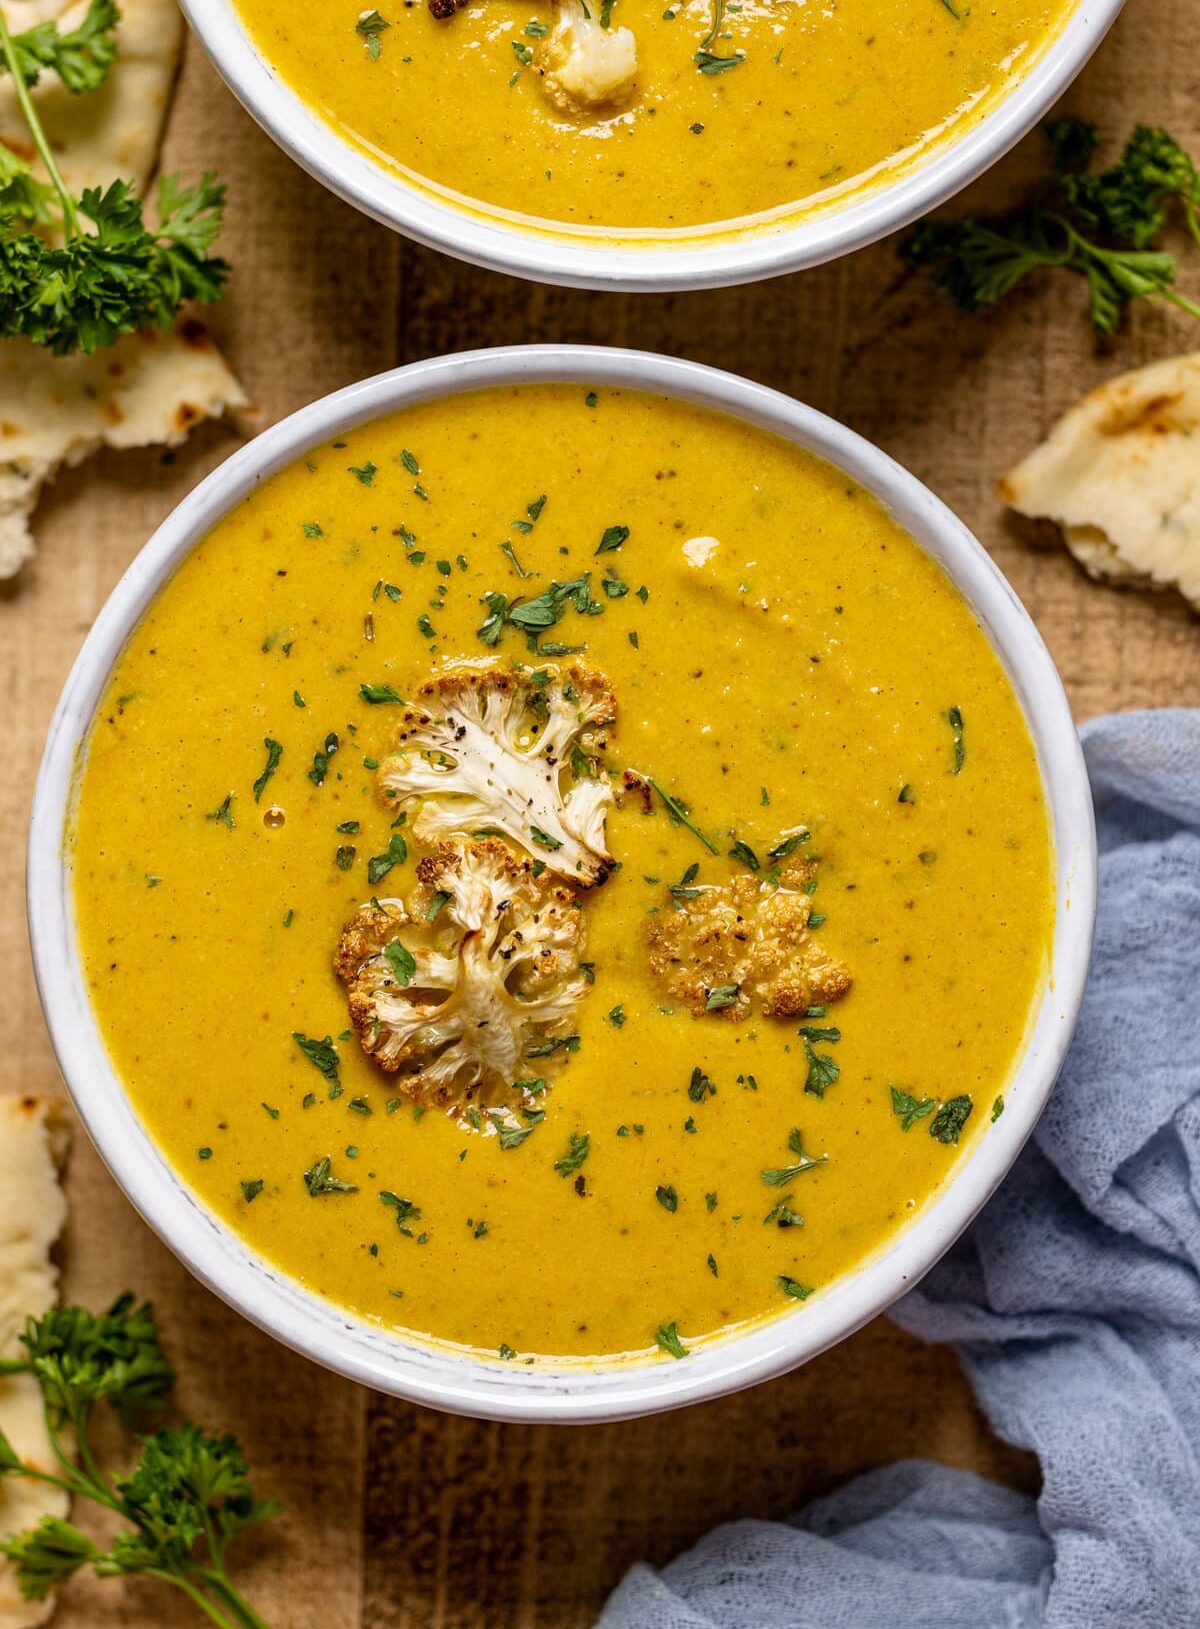
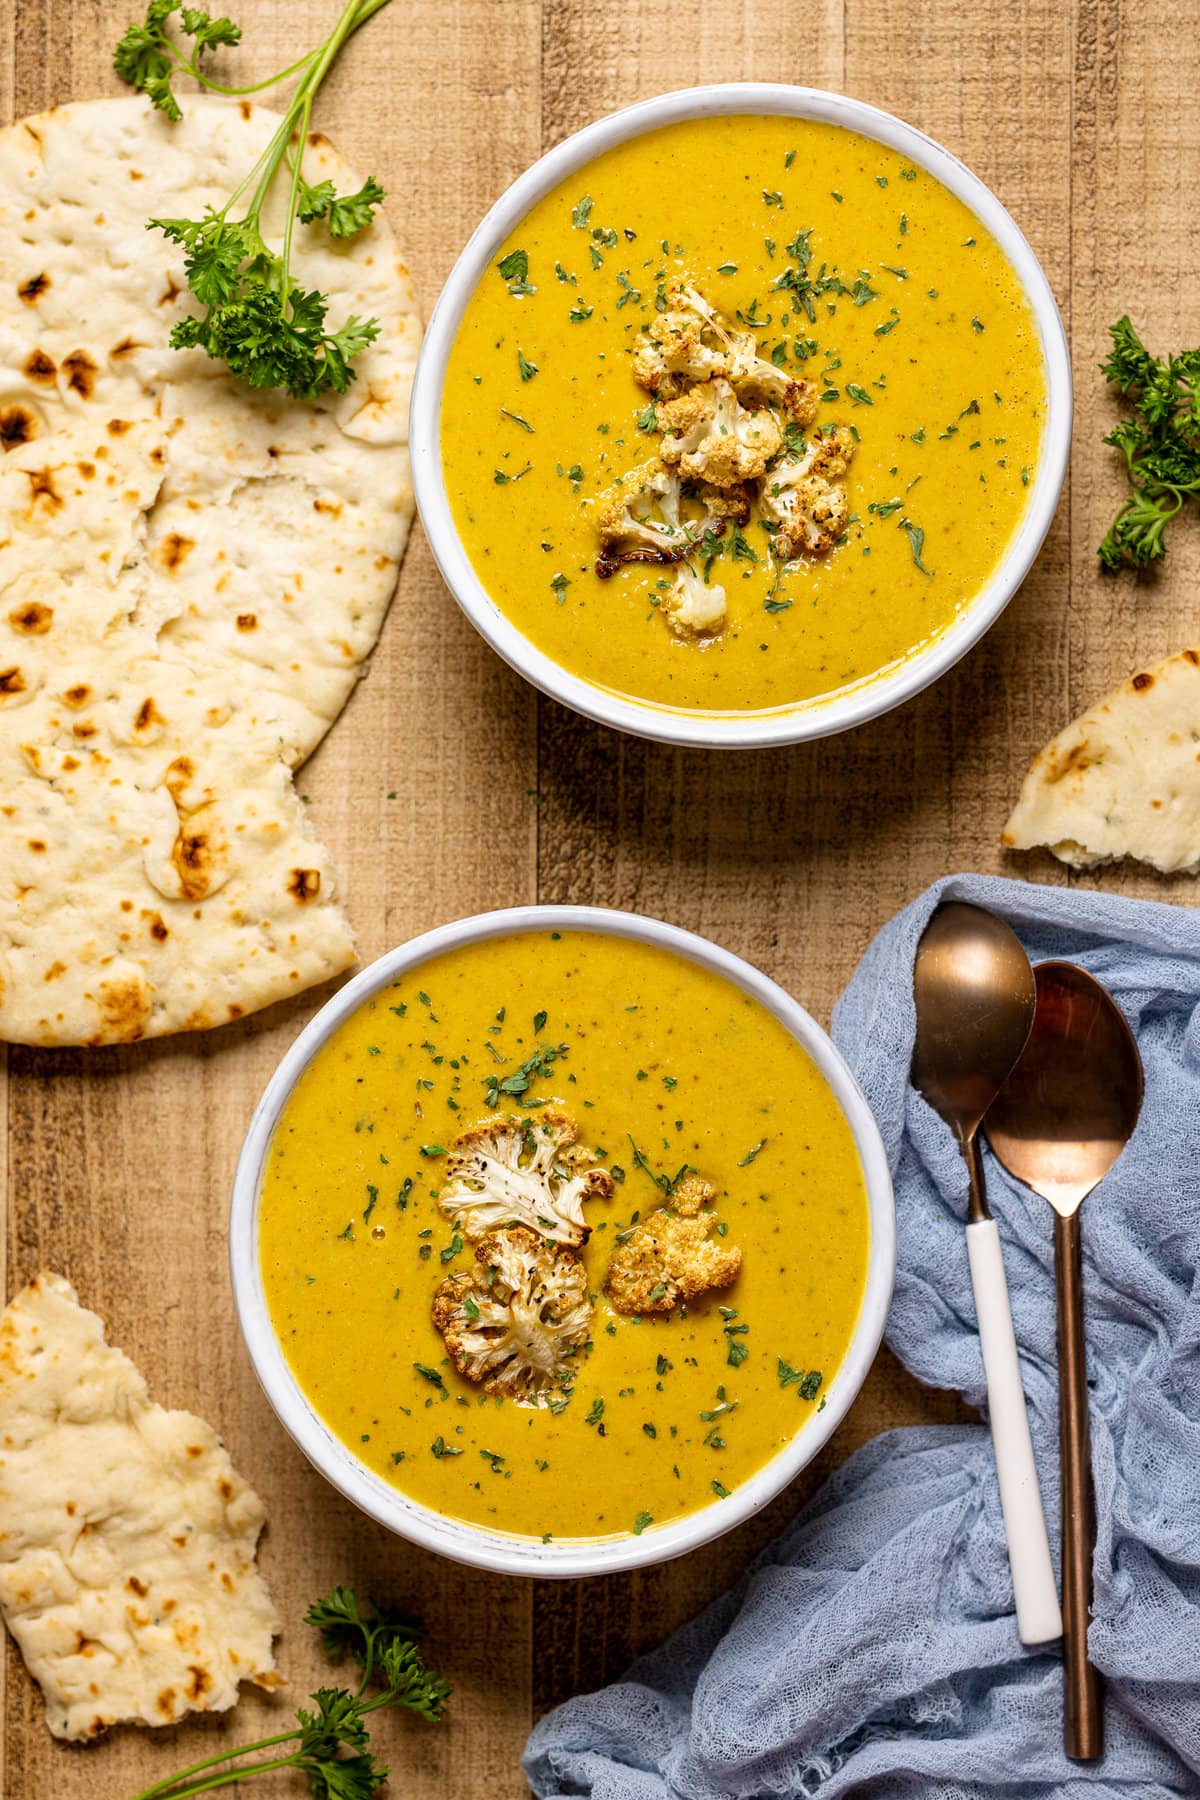
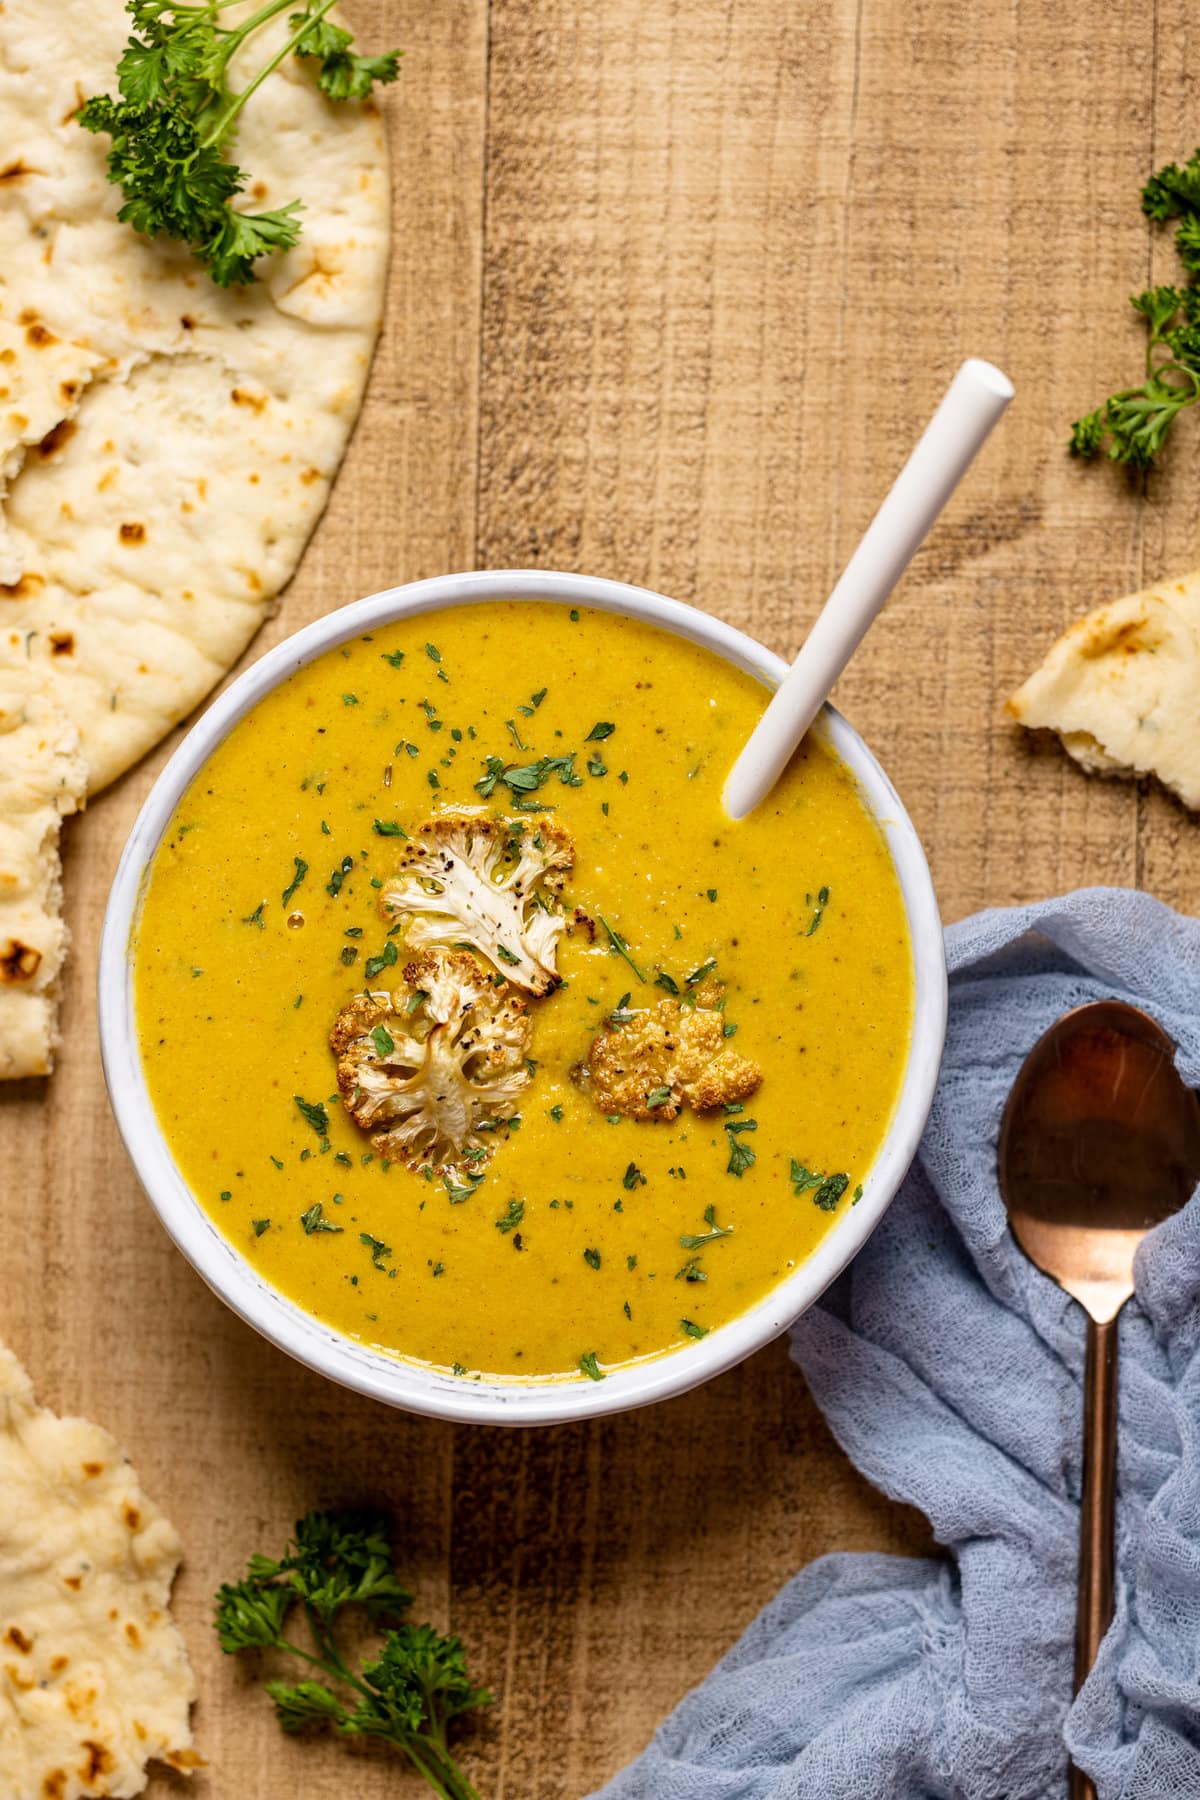
Creamy Roasted Garlic Cauliflower Chickpea Soup is a vegan's dream. A silky smooth texture and rich umami flavor makes this the perfect dairy-free and vegan soup for chilly winter nights or for meal prepping lunches! All vegan + gluten-free ingredients.
Disclaimer: This post contains affiliate links via Amazon for products that I wholeheartedly love.
If you love a rich, creamy, 'cheesy' Roasted Garlic Cauliflower Chickpea Soup but don't want to be weighed down by all the melted cheese and cream, then you're going to love this soup. It has tons of body and real decadent creaminess, but none of the dairy. Made with coconut milk and thickened with chickpeas, this plant-based soup is also gluten-free and high in protein. This is the perfect recipe if you're looking for a comforting but easy dinner recipe this winter.
I've always been a soup person, especially in later teen years onto adulthood. Growing up in a Jamaican household definitely brings the soup loving out of you and I seriously am into ALL KINDS. My top faves are chicken soup, goat soup, and red peas soup (all Jamaican staples), however, I've enjoyed my fair share of soups like chicken foot, fish, butternut squash, tuscan-style beans + veggies, beef, and the list goes on. Haha.
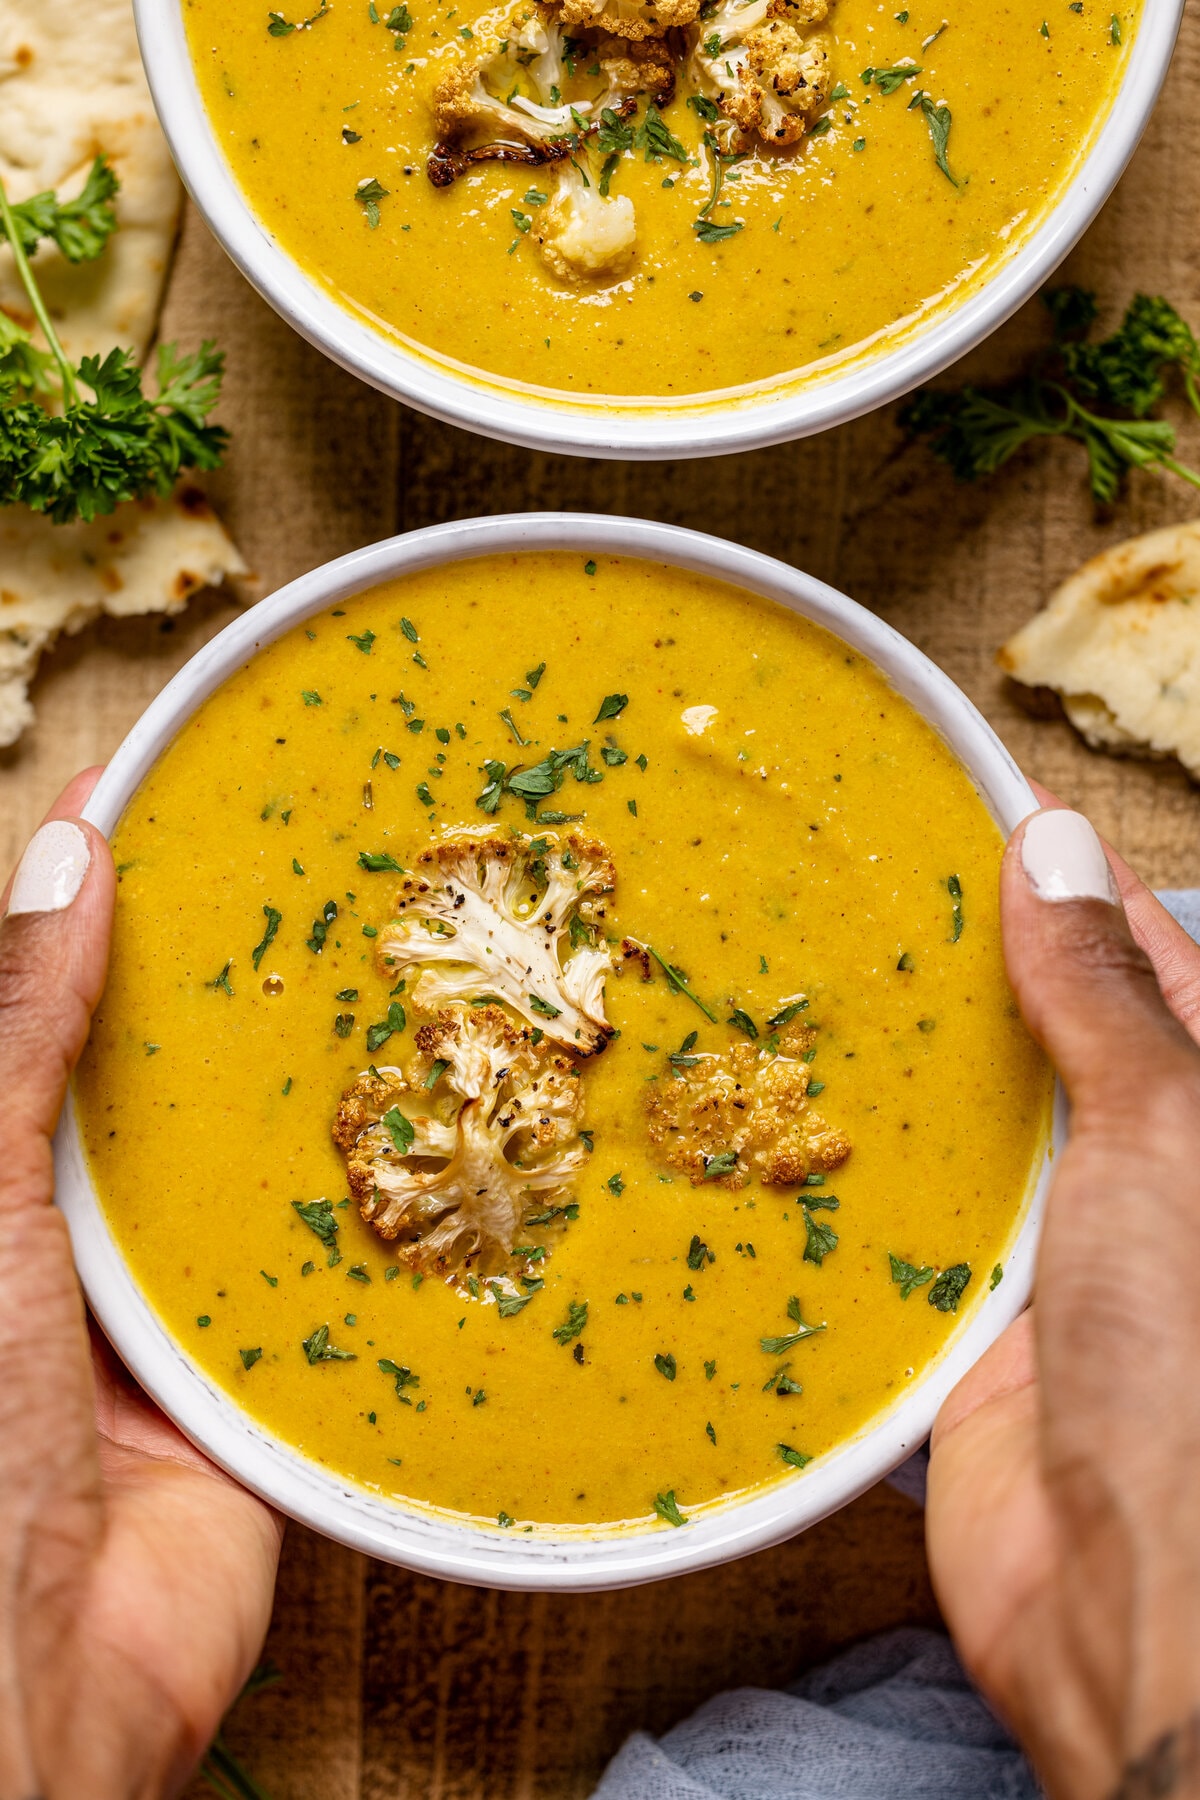
With this roasted garlic chickpea soup, I just love how creamy and cozy that it is and of course, roasting those veggies and seasoning everything WELL is a must for me.
This garlic, chickpea, and cauliflower soup also stores well, which means you can make a big batch and be set for healthy lunches all week long. There's no going wrong when you have creamy roasted garlic cauliflower chickpea soup in your back pocket.
Perfectly Roasted Vegetables
Knowing how to roast all vegetables perfectly is definitely a learned skill. All veggies are different and they all have vast cooking times.
The most common rule of thumb is to roast thicker vegetables at a higher temperature because they can handle the heat. For example, potatoes or sweet potatoes can roast at a higher temp because of their thickness. Broccoli or cauliflower, on the other hand, lends well to a lower heat when cut into florets.
The other common rule when roasting is to use lots of olive oil and a rimmed baking sheet. The oil flavors the veggies and prevents them from sticking to the pan. You can also use a heavy pinch of salt and pepper for perfectly seasoned vegetables.
How to Make Creamy Roasted Garlic Cauliflower Chickpea Soup
If your mouth is already watering, let's not delay any longer! Let's dive into everything you need to know to make this dreamy and creamy cauliflower chickpea soup ASAP!
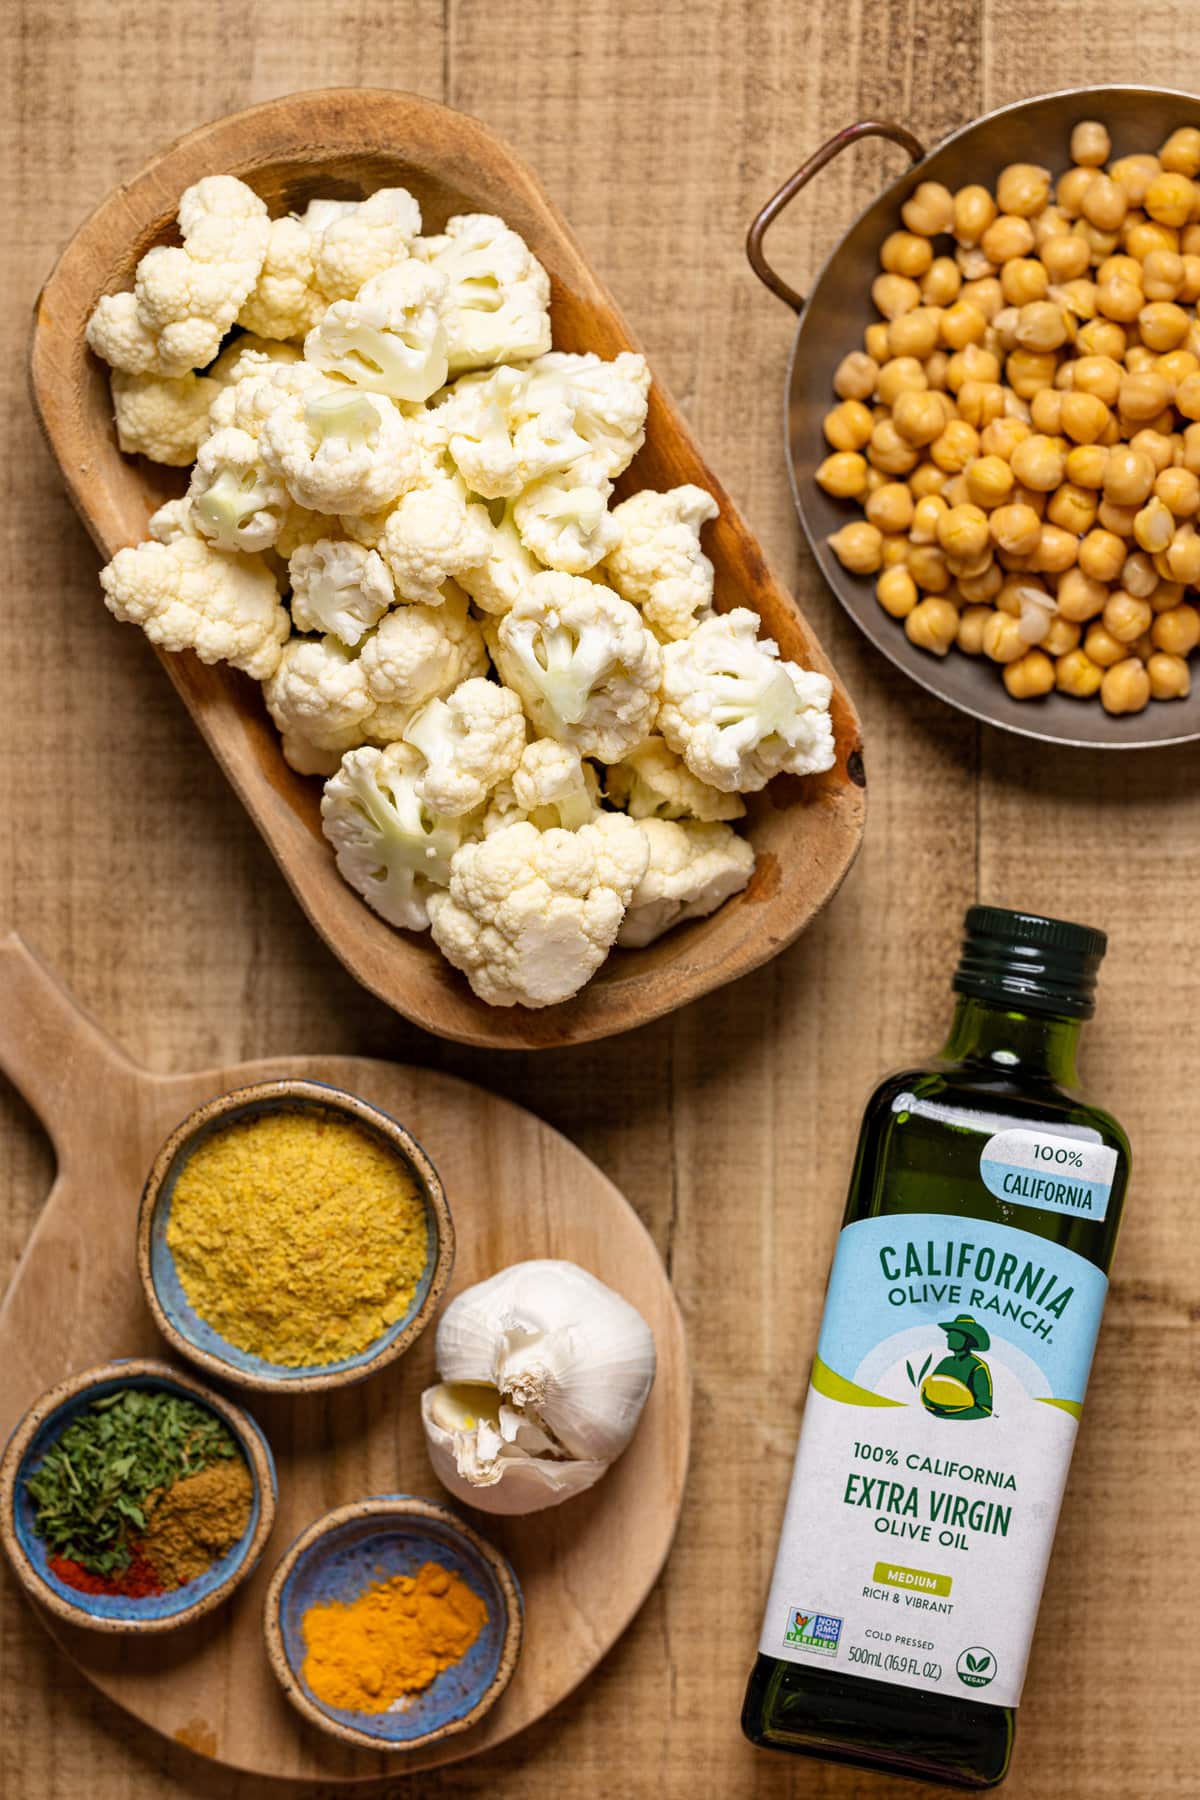
Ingredients
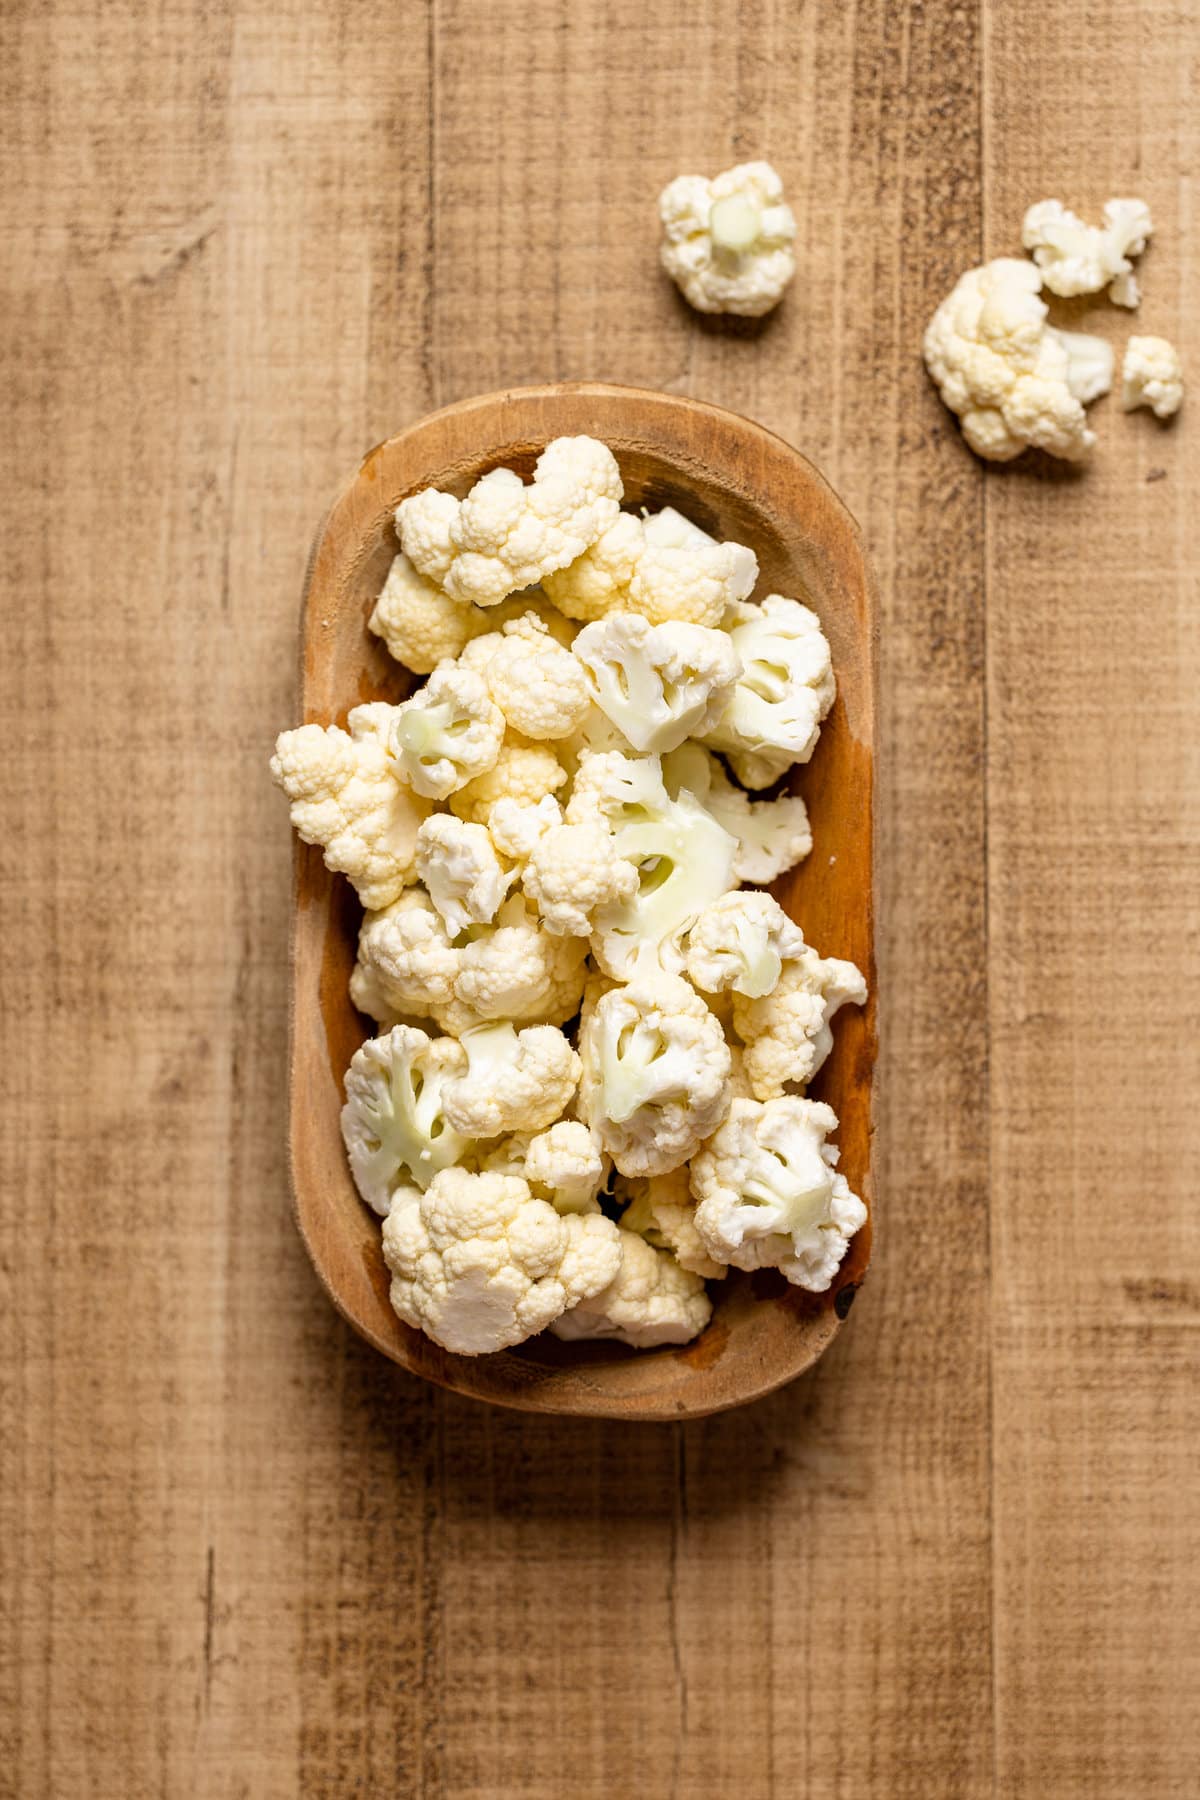
- Cauliflower. Cauliflower is the perfect base for this soup. It has a slightly sweet, mild flavor that doesn't overpower the dish. Plus it blends up beautifully to add extra creaminess without added thickeners or dairy. Choose a big head of cauliflower for this soup.
- Chickpeas. These add a subtly nutty flavor and extra body to the soup, not to mention plant-based protein.
- Garlic. Go all-in on the delicious roasted garlic flavor by using a whole head. It might sound like a lot, but you'll be so glad you added it when you try the finished product. In fact, you may even want to use two heads (bulbs)!
- Onion. This adds another extra level of flavor.
- Olive oil. I love using unrefined extra-virgin olive oil.
- Vegetable broth/stock. Choose low-sodium broth so you can control the seasonings in your soup.
- Coconut cream. You can find coconut cream next to the cans of coconut milk at the grocery store. It's luxurious without being too heavy. If you already have a can of coconut milk, you can use the cream from that. simply refrigerate the can of milk overnight. Then scrape off just the creamy top layer and add it to your soup.
- Nutritional yeast. This is a vegan must-have ingredient to add a hint of cheesy flavor and umami without any dairy.
- Cumin. A bit of cumin adds a nice toasty taste to complement the nutty chickpeas.
- Herbs + Spices. For the perfect blend of spices, I use salt, black pepper, parsley, garlic powder, and smoked paprika.
- Turmeric. Adds a boost of color for a golden-hued soup, plus earthy flavor and anti-inflammatory health benefits. You can also omit the turmeric if you don't have any on hand.
How to Make Creamy Roasted Garlic Cauliflower Chickpea Soup
To make this Creamy Roasted Garlic Cauliflower Chickpea Soup, you'll start by roasting up the cauliflower and garlic bulbs. Doing so enriches the flavors greatly. Also, this enhances the rich, caramel flavors in the soup. The key for this recipe is to start with great-quality, organic cauliflower. Next, sauté the chickpeas and onions and then you'll blend the base ingredients together, simmer over the stovetop, and wallah!
Serve with a side of vegan grilled cheese (sub w/ dairy-free cheese shreds) or homemade croutons sprinkled on top in addition to optional toppings. SO good!
Serving & Topping Suggestions
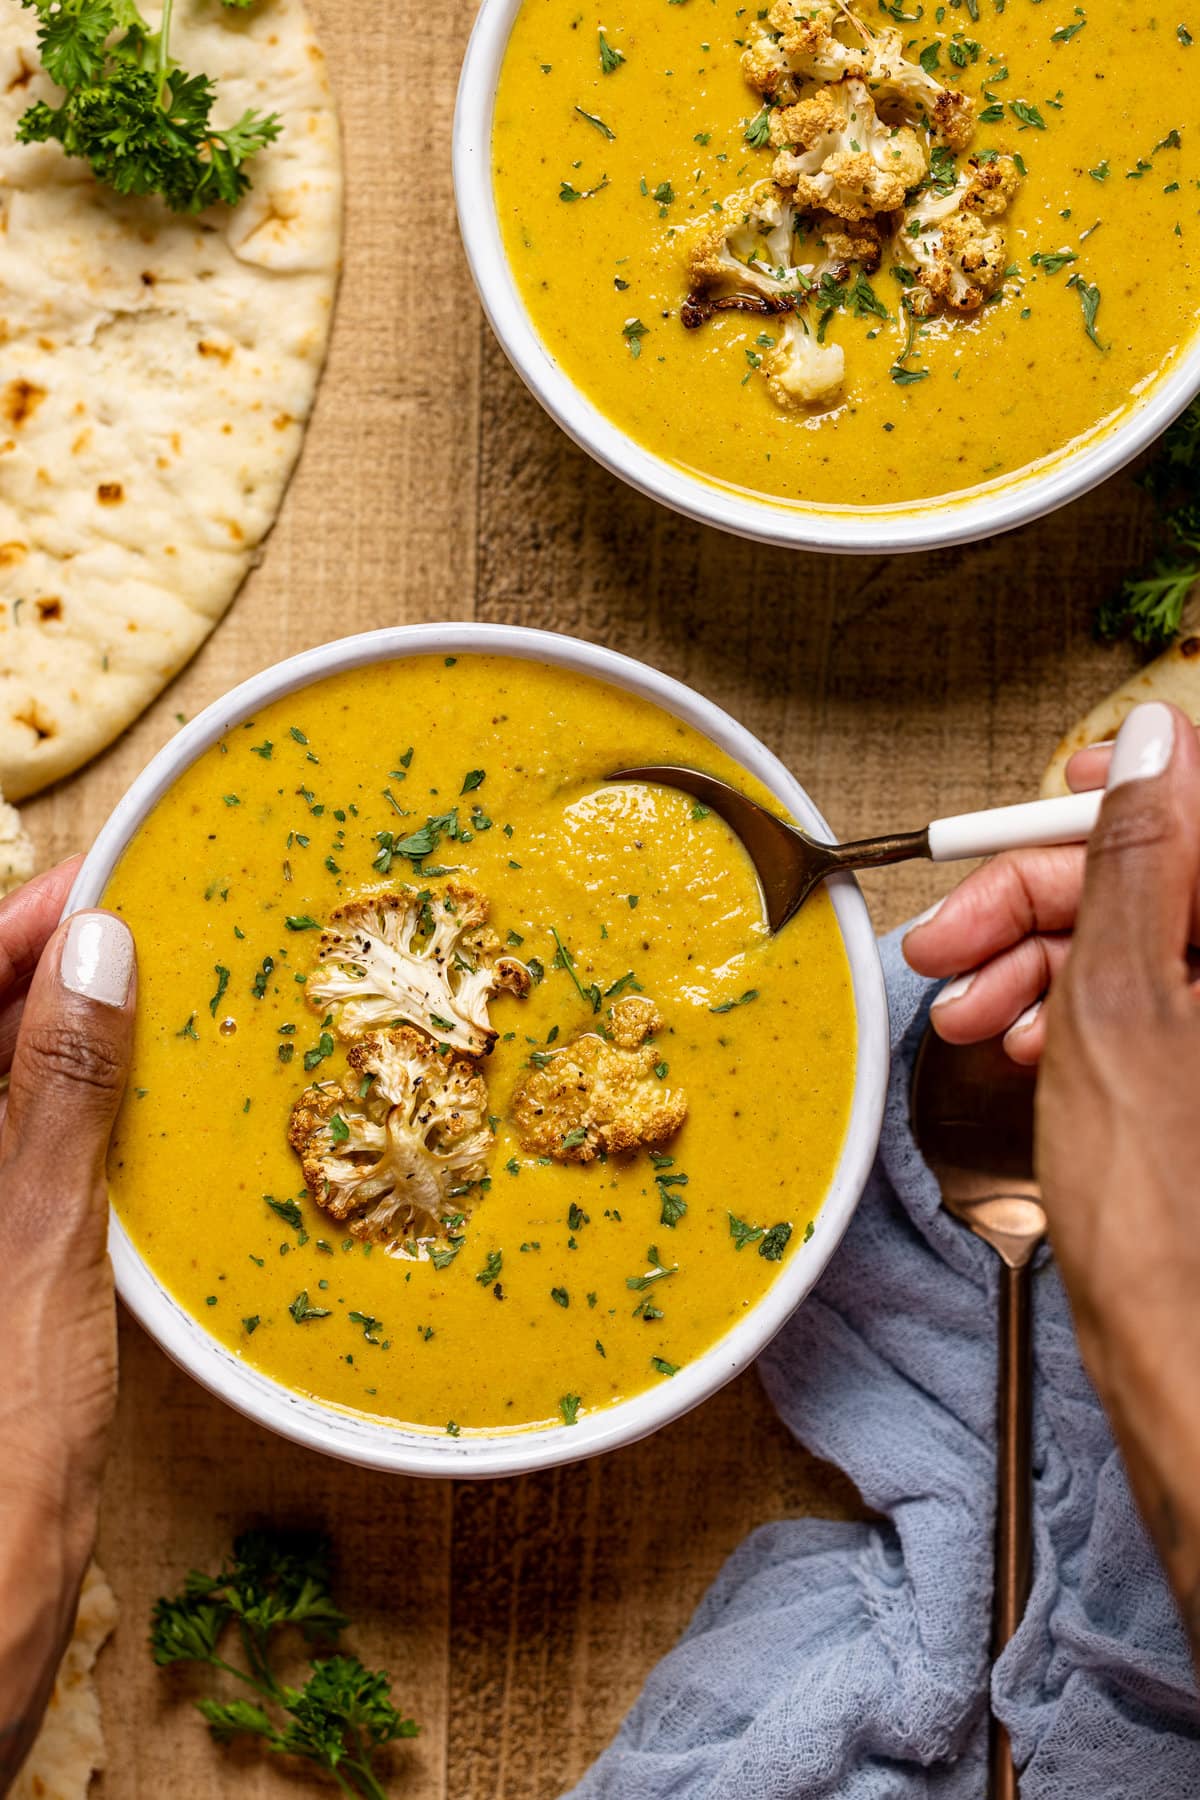
This creamy chickpea, garlic, and cauliflower soup is delicious all on its own. I like to serve it with a big piece of crusty French bread to soak up the rich roasted garlic flavors. However, if you want to add a bit of extra flavor, crunch, and color, these are my favorite topping ideas:
- Crispy bacon. Of course, this is for the non-vegan. It adds extra smokiness and savory flavor to every bite.
- Roasted chickpeas or cauliflower. An addicting snack, roasted chickpeas and/or cauliflower are perfectly crisp and almost like croutons on top of your soup.
- Dried or fresh parsley. To add an extra pop of green and fresh flavor on top. You can also use fresh parsley if you like.
- Roasted broccolini
- Melted cheese (vegan or regular if you're not vegan!)
- Homemade croutons
- Crispy sage leaves
- Roasted chickpeas
What are your favorite soup toppings? Be sure to leave me a note in the comments section, I can't wait to try them!

Reasons Why You'll Love This Roasted Garlic Cauliflower Chickpea Soup
First and foremost, the flavors in this simple and Creamy Roasted Garlic Cauliflower Chickpea Soup is enough to convince anyone, however, here are a few more reasons why you’ll love this soup for dinner:
- It’s absolutely delicious—-creamy + velvety. I always try to ensure that my creamy soups are just that----creamy! So, using cream-based ingredients like a high-quality heavy creamy helps to achieve this best!
- Super easy to make and quick! I literally love making the most delicious weeknight meals that don't take a ton of time and effort and this recipe is it! Plus, no crazy clean-up! Can we say–Everything in a baking sheet, pot and blender?
- Full of flavor + well seasoned! (The best reason). This by far is one of my biggest reasons for making this soup. I enjoy adding herbs + seasonings to create a bold flavor profile that works.
- Perfect for any time of day—Dinner, Lunch, Breakfast (if that’s your thing), whatever! Most of all, this is my biggest plus! I love soup during anytime of the day, especially whenever there are leftovers. The good thing is that this soup reheats nicely once done over the stovetop---slow and warmed through and you can add a bit of coconut cream or veggie stock if it's not creamy enough.
SHOP MY FAVORITE TOOLS FOR COOKING, ESPECIALLY FOR THIS SOUP!
Here, I’ve curated a list of cooking + baking essentials that I use to achieve my favorite baked goods or cooked meals, especially with this Creamy Roasted Garlic Cauliflower Chickpea Soup. Everything from my fave baking sheet, liners, immersion hand-blender, mixing bowls, and more. SEE THEM HERE!
How to Make Homemade Croutons
Homemade Croutons are easy to throw together. While you might think that it’s so hard to make—-I’m here to show you just how easy it is. In a bowl, add the cubed bread, olive oil, Italian seasoning, garlic powder, parsley, salt, and black pepper, tossing everything together until bread is fully coated.
Add the bread unto the baking sheet (spreading it out evenly) and bake for 10-15 minutes or until the bread has become golden and are crisp. Remove and let it cool.
Why Chickpea? Any Health Benefits?
For those of you who aren’t aware, another name for Chickpeas are Garbanzo Beans. Despite the most recent craze, chickpeas have been around for thousand of years and originate from the Middle East.
Chickpeas have such a great texture and nutty flavor, which allows them to successfully pair well with a lot of other ingredients, especially in vegan and/or vegetarian recipes.
When it comes to the health benefits of Chickpea, here a few awesome reasons why you should probably add this simple ingredient to your diet more often:
- Packed with Nutrients + have a moderate amount of calories!
- Rich in Plant-Based Proteins!
- Support Blood Sugar Control.
- Full of Fiber + might aide digestion.
- May protect against Chronic Diseases (such as heart Disease, Cancer, Diabetes, etc.)
- May Help keep your appetite under control (Think about how protein + fiber helps to slow down digestion, therefore keeping you full longer!).
Tips For Making Good Soup Every Time:
Now, if you're intimidated with making soup or are concerned that it won't turn out as delicious, no worries. In my experience with making many different types of soup and watching the adults around me make a TON of soup (it's a staple in the Jamaican culture), I've learned a few things along the way that can help you make really good soup, including this Creamy Roasted Garlic Cauliflower Chickpea Soup:
- Chop your veggies and ingredients into bite-sized pieces for greater ease when eating.
- ALWAYS sauté your veggies, especially the garlic, onions, etc.
- Make your own stock if you can or use water as your base with seasonings + herbs for a great taste. If using store-bought stock/broth, always purchase high-quality ones.
- Let it simmer. While you might be tempted to cook your soup on high for a faster cook time, it's definitely BEST to let everything simmer and allow the flavors to "fuse" together slowly.
- If using meat, always sear your meat in the pot first prior to adding it to the soup to cook the rest of the way.
- If adding dairy or an alternative, always stir it in last or during the final few minutes.
- To thicken (if needed), always mix your thickener (flour, arrowroot, starch, etc.) in a small bowl with some of the hot broth from your soup before adding it to the entire pot of soup. This prevents lumps and gives you a nice creaminess.
Storing Leftover Creamy Roasted Garlic Cauliflower Chickpea Soup
Leftovers can be stored in a tightly sealed container in the refrigerator for 2-3 days, for optimal freshness. Can also be frozen for 4-6 months. To defrost, simply place soup in the refrigerator overnight or at room temperature before re-heating on the stove top to serve.
More Must-Try Vegan Soup Recipes
Once you've mastered this creamy roasted garlic cauliflower chickpea soup, add these other soup recipes to your list next:
- Creamy Vegan White Bean Soup
- Creamy White Chicken Lasagna Soup
- Easy Flavorful Rigatoni Meatball Soup
- Creamy Roasted Garlic Tomato Soup
- Vegan Cheesy Carrot Soup
- Creamy Roasted Garlic Tortellini Soup
- Hearty Winter Vegetable Soup
- Creamy Cajun Pumpkin Tortellini Soup
- Vegan Tuscan Kale Chickpea Soup
And for dessert? Dairy-Free Carrot Cake with Chai Buttercream of course!
MADE OUR RECIPE(S)?
If you make this Creamy Roasted Garlic Cauliflower Chickpea Soup recipe, tag @orchidsnsweettea_ on Instagram and hashtag it #orchidsandsweettea!
Creamy Roasted Garlic Cauliflower Chickpea Soup
Ingredients
ROASTED VEGGIES:
- 1 head of cauliflower, chopped in semi-thin florets
- 1 garlic bulb (You can add another bulb for a stronger garlic flavor; See Notes!)
- 2 Tbsps Extra virgin olive oil
- teaspoon sea salt + black pepper, to taste
SOUP:
- 1 (15 oz.) can chickpeas, drained + rinsed
- 1 tablespoon Extra virgin olive oil
- 1 red onion, chopped
- 3 cups organic vegetable broth/stock, low-sodium
- 1 cup full-fat coconut cream/milk (See Notes!)
- ¼ cup nutritional yeast (You can also use dairy-free cheese shreds instead)
- 1 teaspoon sea salt
- 1 teaspoon smoked paprika
- 1 teaspoon cumin
- 1 teaspoon garlic powder
- 1 teaspoon turmeric powder
- 1 teaspoon dried parsley
- ½ teaspoon black pepper
OPTIONAL TOPPINGS:
- Roasted cauliflower
- Roasted chickpeas (See Notes!)
- Fresh or dried parsley
Instructions
TO ROAST THE VEGGIES:
- Preheat the oven to 375 degrees Fahrenheit and line a baking sheet with parchment paper.
- Add the chopped cauliflower and garlic bulb(s) unto baking sheet and lightly coat veggies with olive oil and sprinkle with sea salt and black pepper.
- Bake the veggies for 20-25 minutes or until golden brown and crisp.
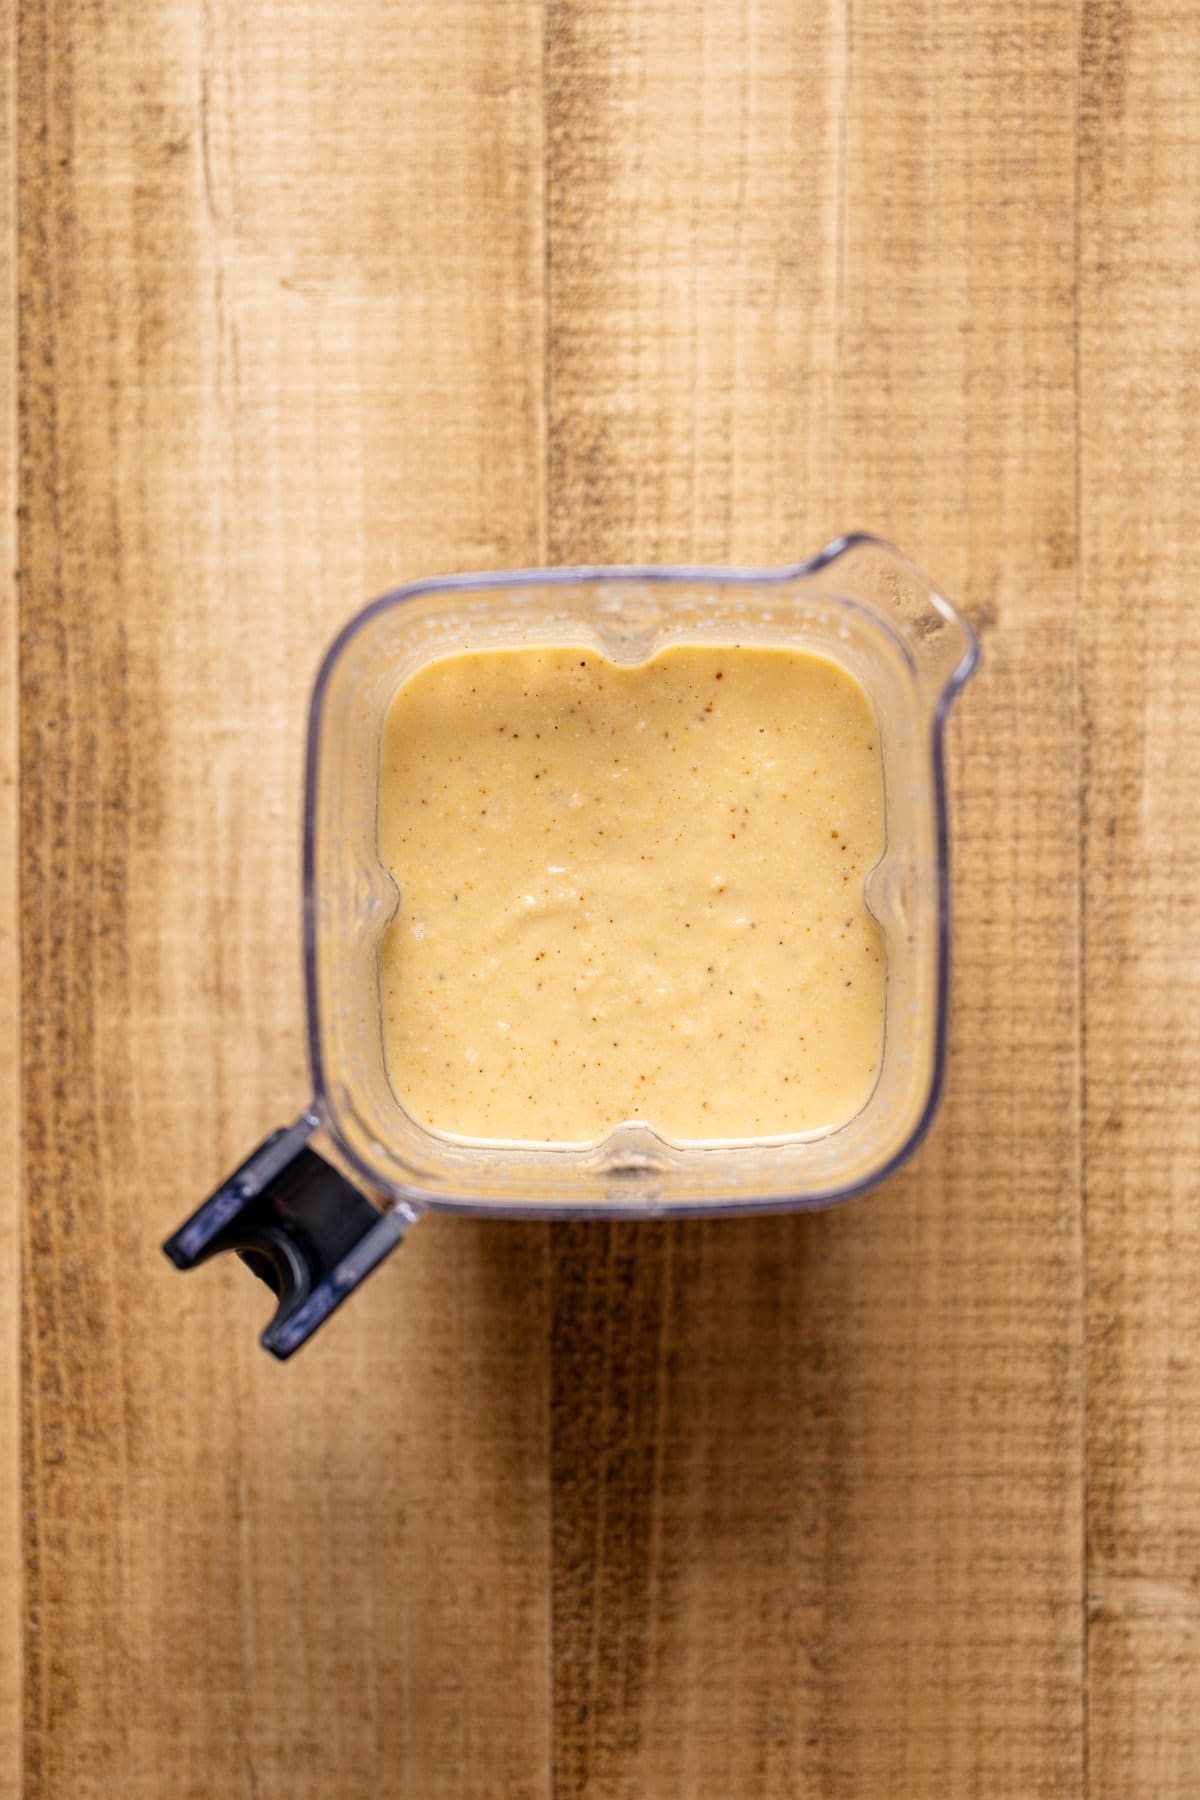
BLEND EVERYTHING TOGETHER:
- In a medium-sized dutch oven pot over medium-high heat, add the olive oil. Once heated, add the chopped onions and sauté until translucent + fragrant, about 1-2 minutes. Add the chickpeas followed by salt, black pepper, smoked paprika, cumin, garlic powder, parsley, and turmeric, stirring until combined.
- Remove from heat and add the sautéed onions + chickpeas in a high-powered blender along with the garlic (once the insides are squeezed from the bulb), ¾ of the roasted cauliflower, and vegetable stock. Blend on high-speed until everything is fully broken down and smooth. NOTE: Save a bit of roasted cauliflower as garnish, if desired.
TO MAKE THE SOUP:
- In the same medium-sized dutch oven pot over medium-high heat, add the blended soup mixture along with the coconut cream/milk, nutritional yeast, and a bit more salt (if needed), stirring everything together until combined.
- Let everything boil for 1-2 minutes and then reduce heat to low to allow a simmer for another 4-5 minutes.
- At this point, the soup should be thickened as it continues to simmer.
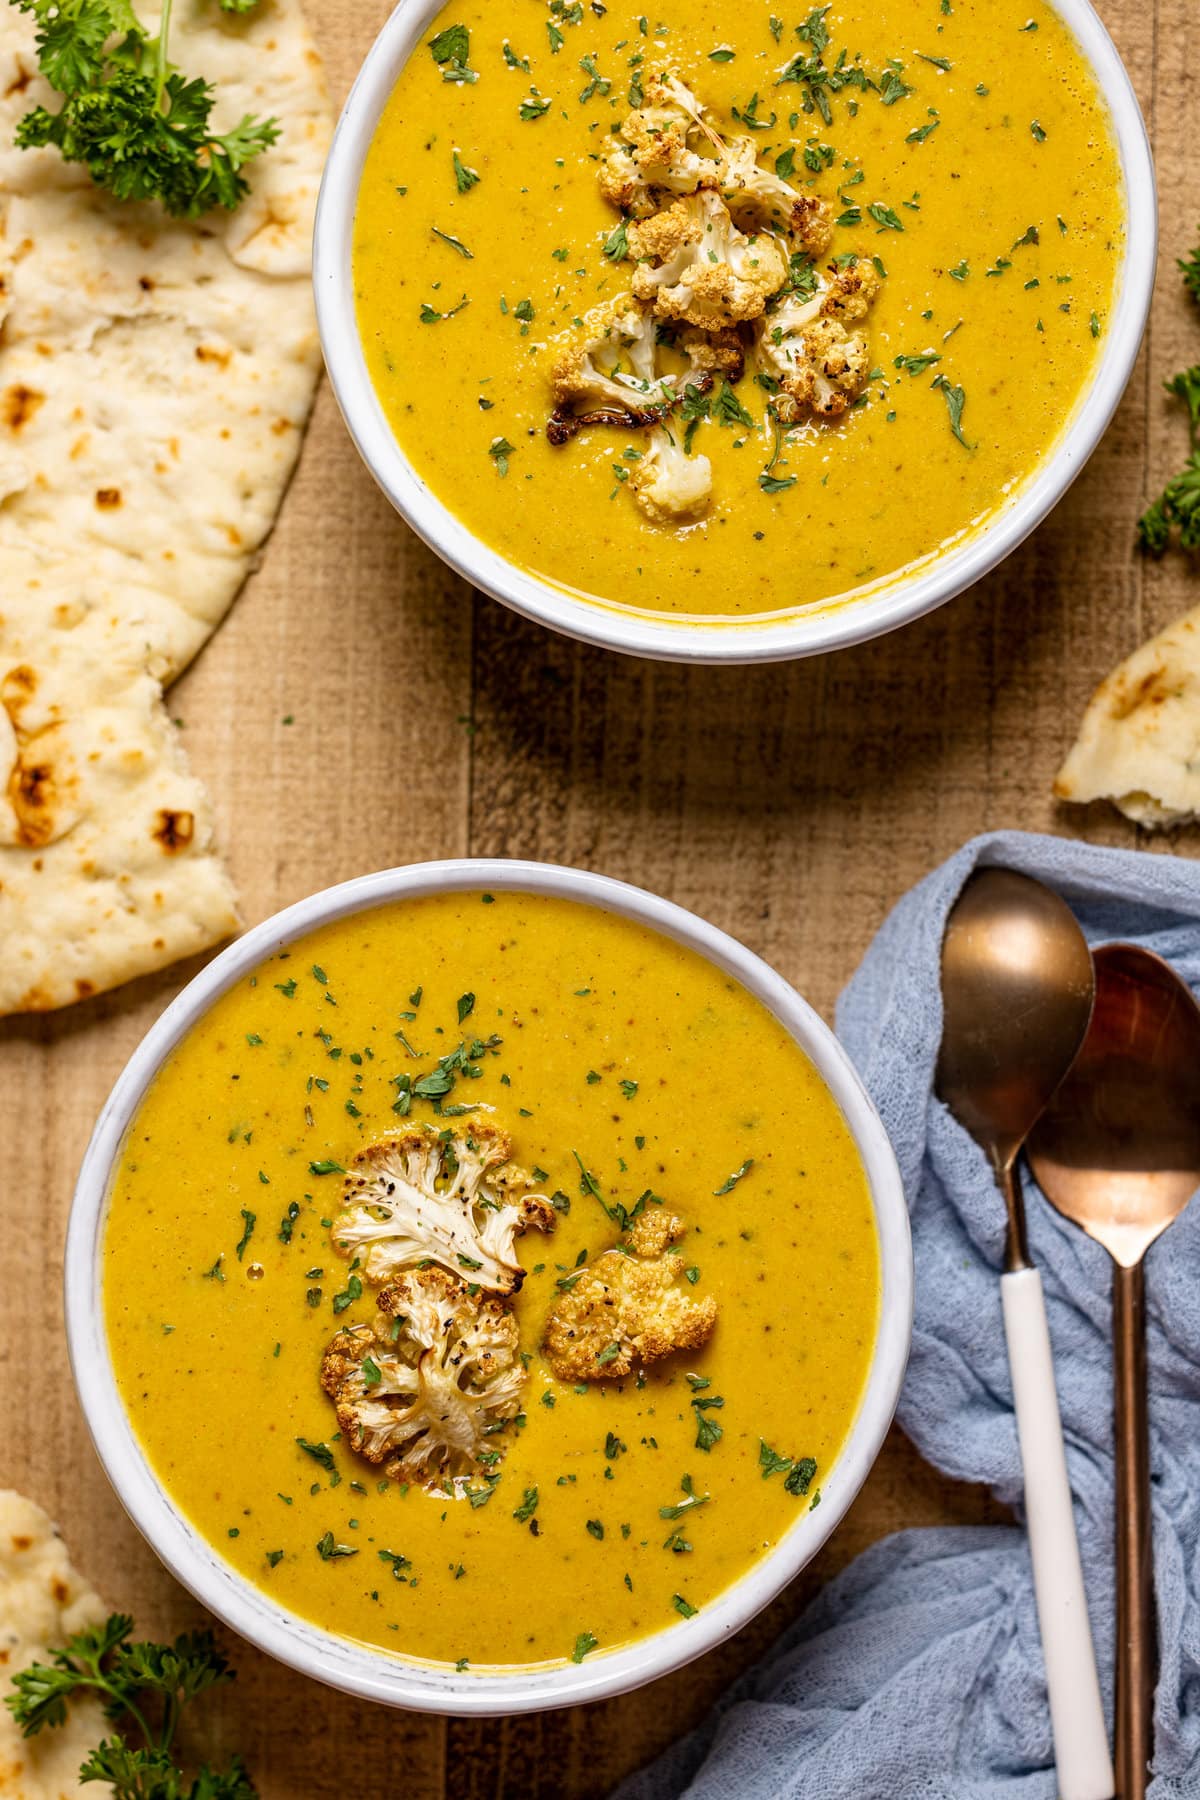
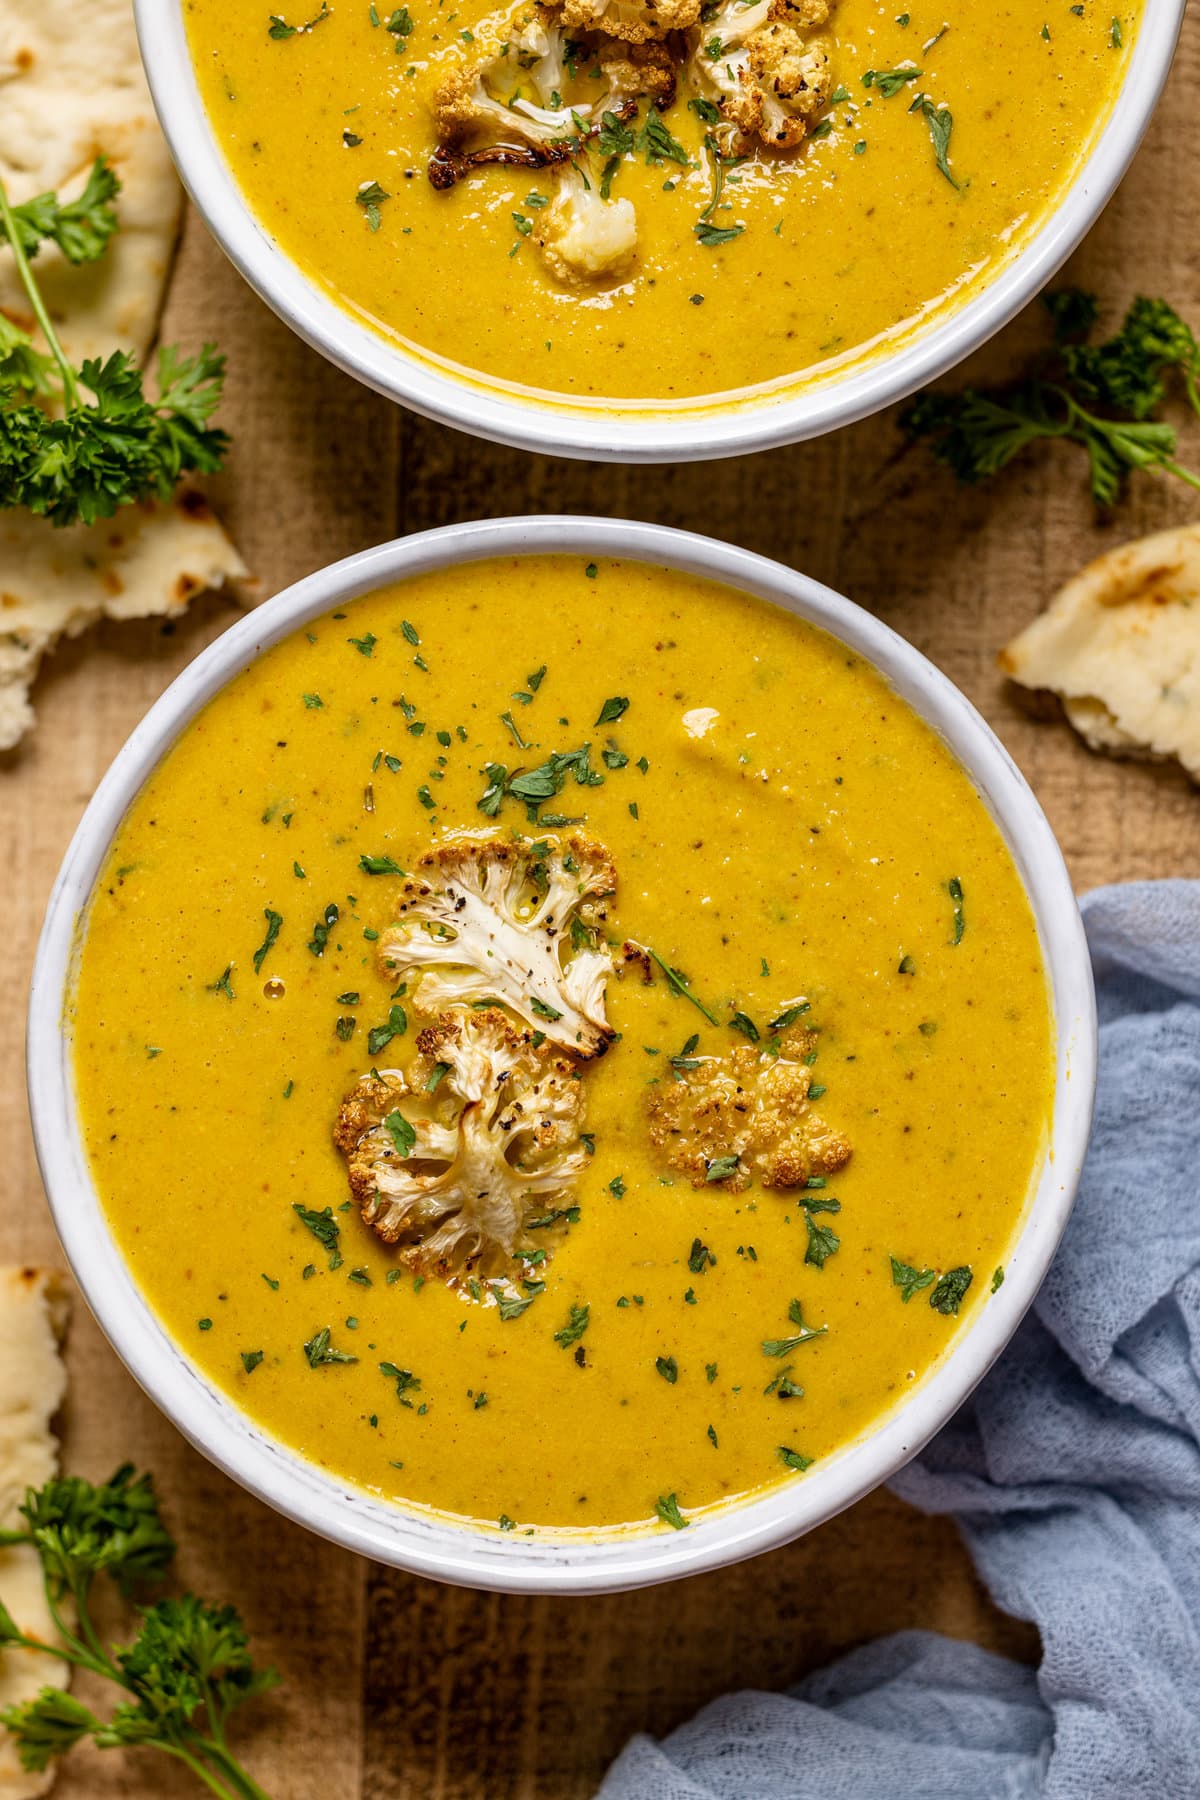
- Remove from heat and serve immediately into prepared bowl(s), top with roasted cauliflower, chickpeas, and a sprinkle of parsley, if desired.
- Bon Appetit!
Tips & Tricks
- STORAGE: Leftovers can be stored in a tightly sealed container in the refrigerator for 2-3 days, for optimal freshness. Can also be frozen for 4-6 months. To defrost, simply place soup in the refrigerator overnight or at room temperature before re-heating on the stove top to serve.
- TURMERIC: While adding turmeric is optional, it definitely has benefits: powerful medicinal properties, natural anti-inflammatory ingredient, increases antioxidant activity in the body, and more.
- GREENS: If preferred, you can always add greens like Kale, Spinach or Collard Greens to soup for more richness.
- GARLIC: If you're a fan of garlic flavor, you can add up to 2 bulbs of garlic for bolder flavor. For less boldness, use only 1 bulb.
- COCONUT CREAM: I love using canned coconut cream from Thai Kitchen or Edwards & Son, however, you can always use canned coconut milk as well and refrigerate it overnight to cream more creaminess.
- EQUIPMENT: Here, I’ve curated a list of cooking + baking essentials that I use to achieve my favorite baked goods or cooked meals, especially with this Creamy Roasted Garlic Cauliflower Chickpea Soup. Everything from my fave baking sheet, liners, immersion hand-blender, mixing bowls, and more.SEE THEM HERE!
Nutrition
DID YOU MAKE THIS recipe?
Tag @orchidsnsweettea_ on Instagram and hashtag it #orchidsandsweettea
Creamy Roasted Garlic Cauliflower Chickpea Soup.

LOVE THIS RECIPE?
LET US KNOW!
Tried this recipe and loved it. Followed instructions completely no substitutions. The flavors were great. Thanks for the recipe.
Hi! I'm so glad to hear that you enjoyed it! 🙂